 |
| From SBR 4: Jun 2014 - |
I contacted the Museum and one of their staff was kind enough to take measurements from their stool and send them to me.
 |
| From SBR 4: Jun 2014 - |
Ran up to Lowes and picked up a piece of 1"x12"x8' Select Pine. Looks like I have some other pending projects waiting patiently in the back of the Edge....
| From SBR 4: Jun 2014 - |
Drew the line for the 17 inch wide top first.
 |
| From SBR 4: Jun 2014 - |
Cut the top with a circular saw. This project is small enough that you could use a set of cordless tools.
 |
| From SBR 4: Jun 2014 - |
Traced lines for the legs.
 |
| From SBR 4: Jun 2014 - |
Traced lines for the sides.
 |
| From SBR 4: Jun 2014 - |
Traced lines for the center support and used sides to help draw the correct angle. The plan measurements are a bit off for the center support top width.
 |
| From SBR 4: Jun 2014 - |
I measured the picture of the stool to get a general idea of how wide and tall the arch is on the legs.
|
| From SBR 4: Jun 2014 - |
The hand hold on top is just over 4 1/2 inches in diameter. I used the cap from a 5 inch inspection port to get the approximate size.
 |
| From SBR 4: Jun 2014 - |
I grabbed my level to draw the hand hold cross bar, but I ended up trimming it later as it was too wide. What I used the second time was a scrap piece of the 1x lumber, that gave me the width to match the center support below.
 |
| From SBR 4: Jun 2014 - |
I used the cap from a 6 inch port to get the approximate arch for the legs.
 |
| From SBR 4: Jun 2014 - |
Drilled a 1/4 inch starter gole for the jigsaw blade.
 |
| From SBR 4: Jun 2014 - |
Cut out the top handhold and also cut out a section of the center support with a jigsaw.
 |
| From SBR 4: Jun 2014 - |
Cut out the leg arch with a jigsaw and then used leg 1 as a pattern for leg 2.
 |
| From SBR 4: Jun 2014 - |
 |
| From SBR 4: Jun 2014 - |
Dry fitting the pieces to see if the support angles and widths match up. I did not cut any bevels on the legs or supports as the angle formed between the legs and top is negligible.
 |
| From SBR 4: Jun 2014 - |
Drilled pilot holes and counterbore for the screws and then assembled the base.
 |
| From SBR 4: Jun 2014 - |
Used a router bit to round over the edges of the stool. The piece feels better this way, and you get rid of sharp edges that can gouge.
 |
| From SBR 4: Jun 2014 - |
I centered up the top and traced around the base. Then I set the base upright, flipped the top and used a tape measure to make sure top was centered up again. That way I had a idea of where the edges of the base were when I drilled pilot holes for the screws.
 |
| From SBR 4: Jun 2014 - |
Finished up the assembly with #8 1 1/2 inch brass screws. Here are the tools and materials that I used.
 |
| From SBR 4: Jun 2014 - |
Assembly finished, waiting for paint.
 |
| From SBR 4: Jun 2014 - |
I need the stool so I can reach the keel of the Penobscot 14 with a plane and bevel the keel.
 |
| From SBR 4: Jun 2014 - |
The stool could also be used to carry a few tools to the job site.
 |
| From SBR 4: Jun 2014 - |
First coat of Interlux Brightside Fire Red.
 |
| From SBR 4: Jun 2014 - |
Did some operational testing and found out the end arch is just big enough for a toe hold, handy to reposition the stool.
 |
| From SBR 4: Jun 2014 - |
 |
| From SBR 4: Jun 2014 - |
Put the stool back into the shop, rounded the corners and put on the second coat of Interlux Fire Red.
 |
| From SBR 4: Jun 2014 - |
The project took about 2 hours, not including the trip to Lowes.
Paint splatters next? Nope, we'll let it develop its own patina :)
Fair Winds,
Kent
26 Dec 16 Update:
It has been fun to look at other boat shop sites and look for their benches and step stools. One funny time lapse video you could see the stool wandering all over the place like a little dog. Our little guy has helped on several projects and has a nice patina going now. I guess we could call it "Waldo" because we have fun finding out where it is at :)


06 Nov 17:
Waldo sighting, the stool got some sailcloth stripes added today. Also looks like it's been the recipient of some Pettit Seafoam Green and TotalBoat WetEdge Kingston Gray.

02 Dec 18:
We made a pattern for our Gardner shop stool WALDO a while back and cut out the first test pieces from a scrap of 1/2 inch marine grade plywood. Finally put the pieces together with #10 silicone bronze wood screws, rounded off the edges with a 3/4 inch roundover bit. Everything fit great. Now it's getting a paint job, its name is CARMEN, as in Where In the World is Carmen San Diego, continuing the theme of where are the shop stools? She will keep WALDO company.
Here's the pattern.

Here's CARMEN.

11 Dec 18:
Out to the Carriage House to meet WALDO.

She got put to work while I sanded the side of ZSA ZSA.

16 Dec 18:
We have built 2 stools to match the nice little stool we saw at Mystic's John Gardner Boatshop a few years back, they have come in handy. For the last stool we had made a pattern and wanted to test it out, so we went to Lowes and bout a 1x12 piece of select pine. We bough an 8 foot piece, so there will be material left over.
One thing that was off a bit on the last stool was the hand hold circle, we made a few adjustments to that.

Laid the pieces out on the pine and traced the patterns. The ends and sides are traced twice.

Cut the shapes with our DeWalt jigsaw. Made a starter hole for the saw blade in the circle with a 7/16th inch drill bit on the Kobalt drill. We do not cut bevels for the shallow angle of the ends. For some reason the handgrip hole looked odd, I think I have the center strip offset a bit. I'll make a new top pattern to clean that up. In the meantime I trimmed a bit of the new handhold.

We routed the edges that a hand or shin can get to with a 3/4 inch roundover bit on our vintage Makita router. Tried to leave the mating surfaces square, but goofed some of that up. We also leave the inner edge of the feet square, so the can dig in a bit.

Pile O Parts. CARMEN supervised, she is painted in signal flag Juliet colors. One of the features of the stool we like is the arch on the end, we made it big enough to hook a toe under there, so we can pull the stool to a new location as we work around a boat.

We used the patterns to get the screw holes in the right spots, then drilled #8 pilot holes and countersinks for a 1 1/2 inch screw with a Fuller combination bit. Attached the ends to the center brace first, then the sides, checked for square then attached the top.

This stool got signal flag Alpha colors, she will have pantry and dock gym duties. No nickname yet. Used leftover heels of paint for the custom job.

Next up we need to do a Bravo stool.

Then maybe a Sierra and a Romeo.


05 Dec 20:
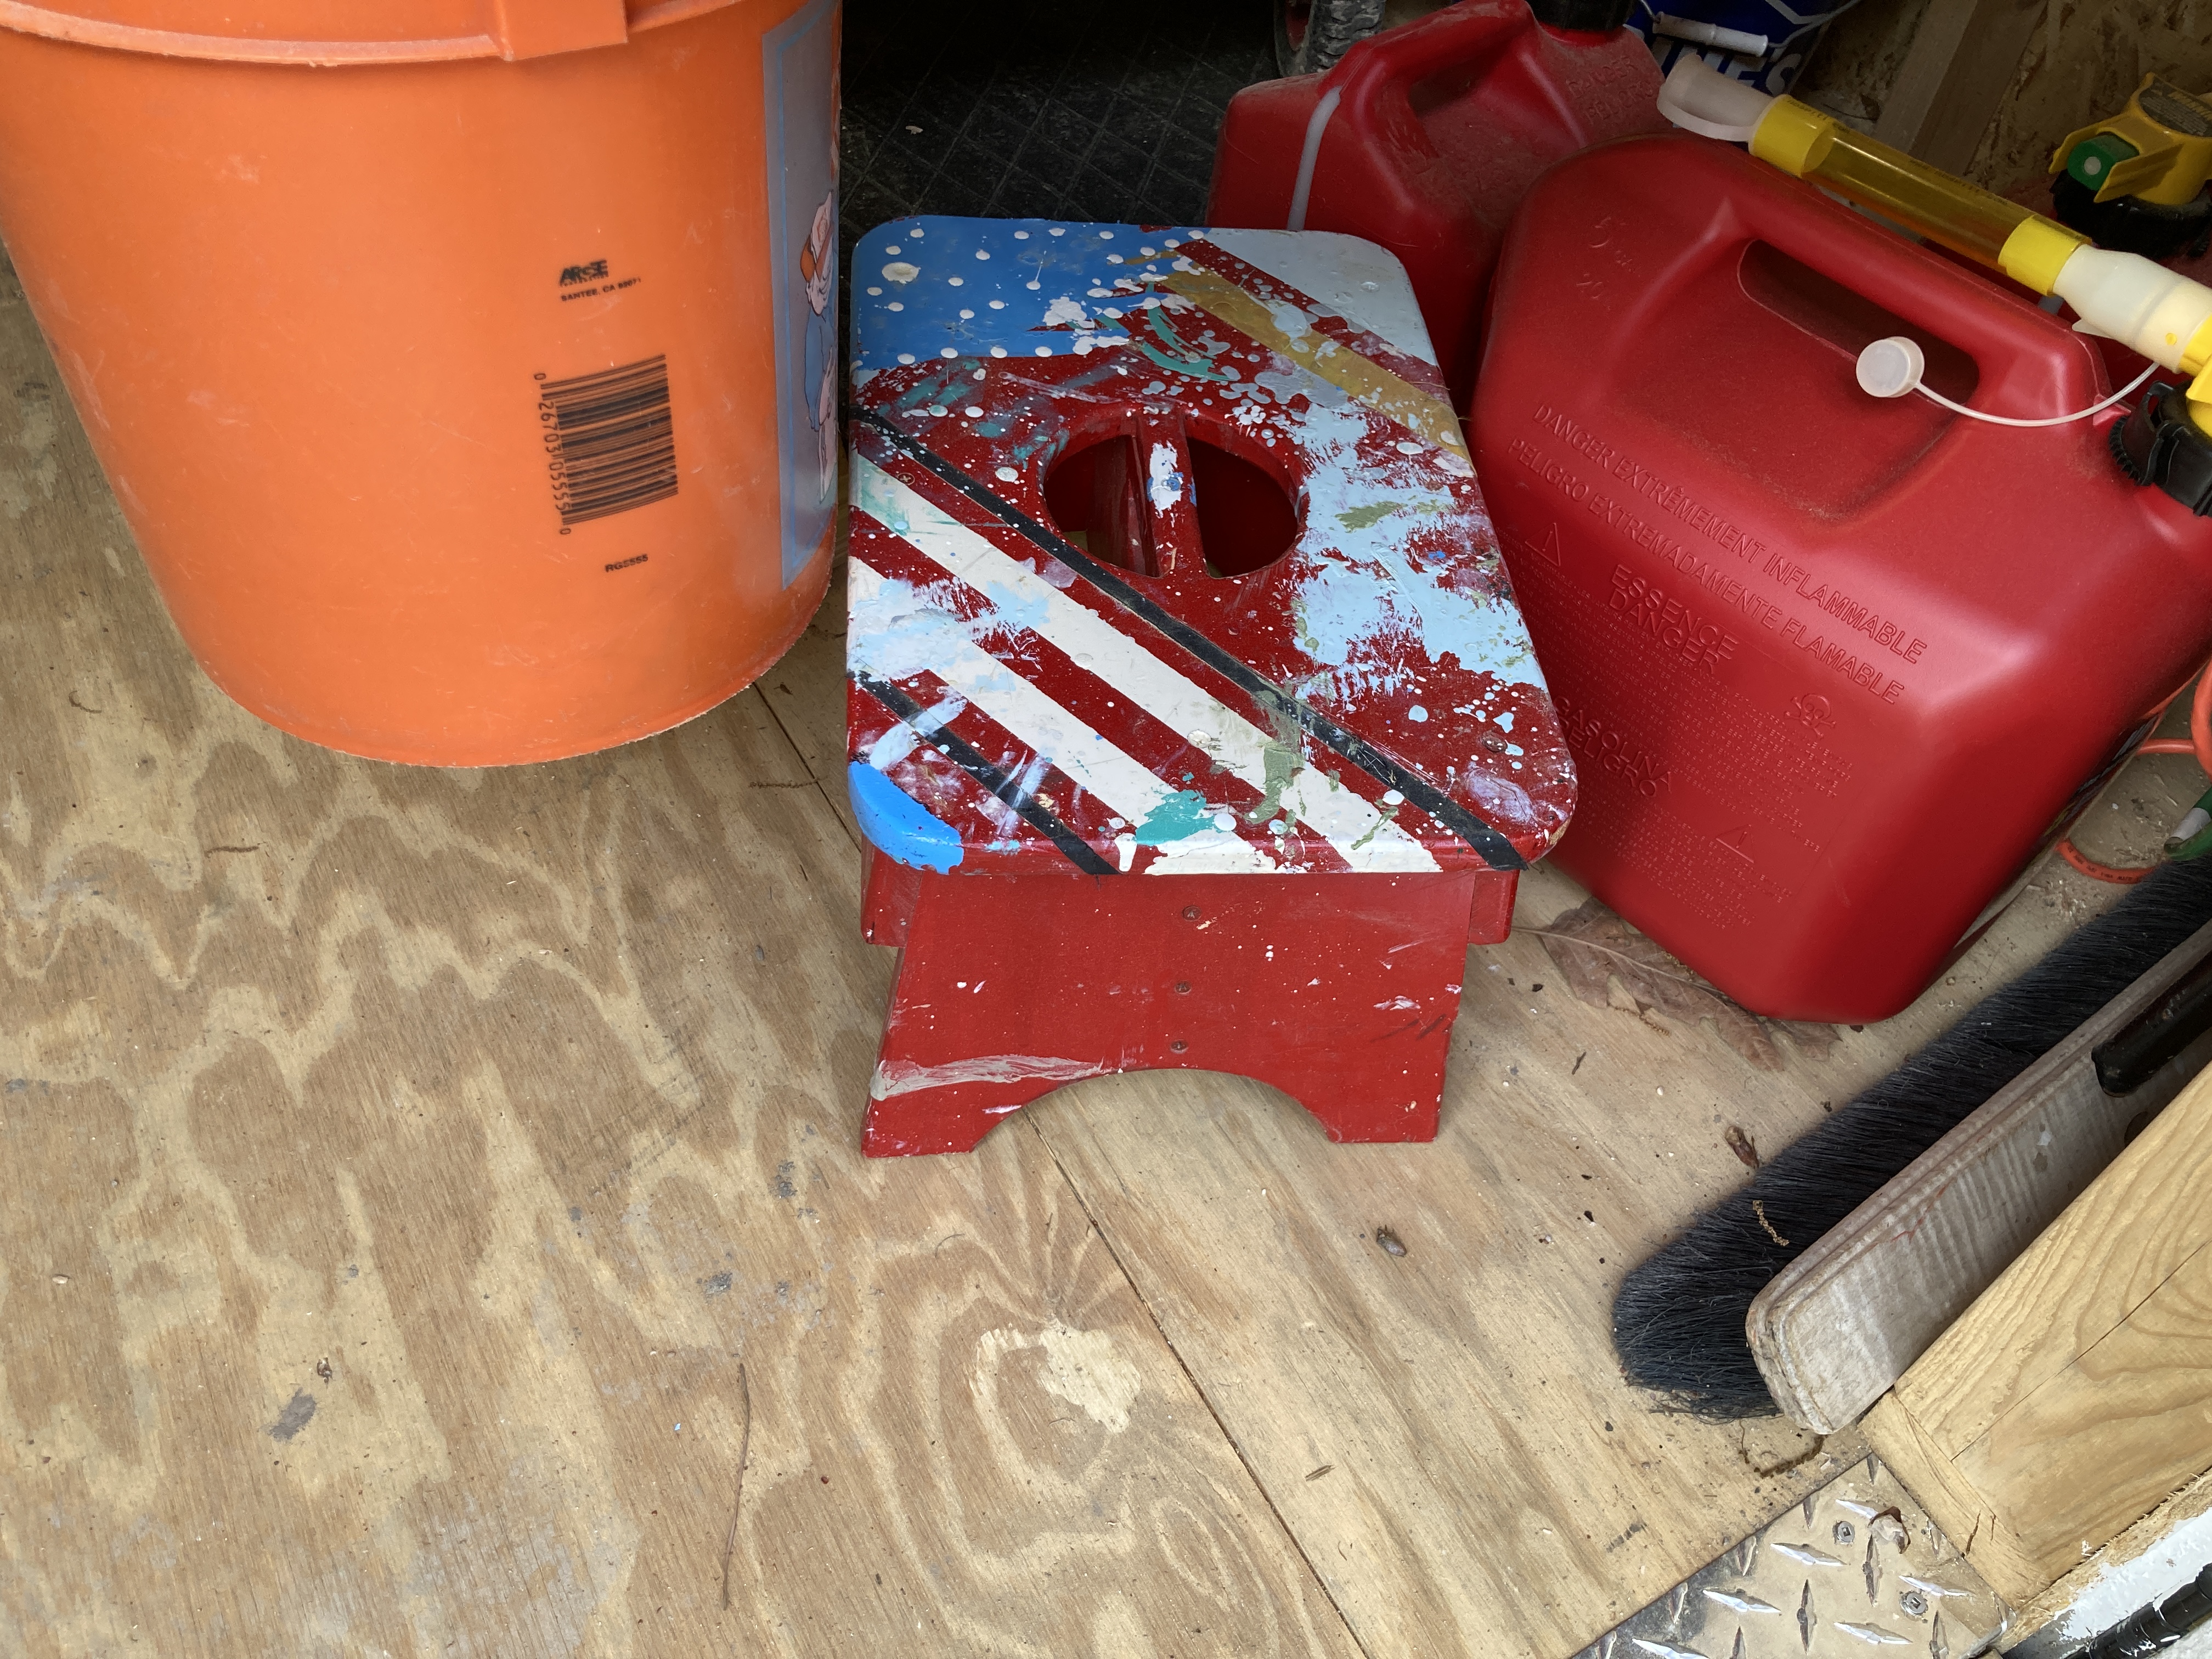
Current state of the Gardner Boat Shop Stool named WALDO. He's hanging out, hoping to get some thickened epoxy drips.


20 Feb 21:
Time to make the Signal Bravo stool. Traced the patterns onto scrap cypress. 1 top step, 2 legs, 1 center brace and 2 side braces. Cut them out with the DeWALT 20V jigsaw.


15 Dec 21:
Skipper requested a tall version of the John Gardner Shop Stool, to be made from cedar. So off to the local building supply to source some 1x12 boards, and then to the Carriage House to start making sawdust. We used our template and made the legs 16 inches.


14 Apr 22;
We made shop stools for some of the family, a few more to go. Each stool has a signal flag for the family member's first initial. The stools move around a bit, a serve various useful functions besides being a step stool.
WALDO (not a signal flag) hangs out in the Boat Works.


29 Oct 22:
Our shop stool WALDO is Skipper's favorite to put her feet on while she Skippervises, it was spotted today returning from the work deck. Surprisingly WALDO did not get any Kirby Paint splattered onto it while we were painting EXCUSE ME.

10 Nov 22:
The tool stool that we rescued from a local junk shop was put to the test today, we loaded the tool tray with a drill, screws and hardware to install Skipper's new boat hoist.
The tray is a good size to carry tools and materials for a small job, and we were able to make the trip from the Boat Works to the work site in one trip vs two. The handle is more comfortable now that we rounded the edges, both on top and bottom.
Before cleaning and repair.


I stood on the stool to install the overhead hoist hardware, it is stable now that we repaired the bottom edge. The stool is a good size and height to sit on for a break, and the 3 coats of varnish protect it from the elements.
We checked off all of the items on the functional check card. The stool has the letters ASW on one side, so I guess that's what we'll call it for now. Future versions may have a cup holder chock and be adequately sized to carry a Laphroaig or wine bottle and a couple of glasses.
10 Apr 24:
We made a small bench out of cedar, set at about 18 inches for a good sitting height. It will be used in a shower, the cedar should smell great with a little hot water splashed on it.
I laid out the templates...for the shop stool...To make a bench I needed taller legs, which I remembered when I got to the assembly stage of construction.


No comments:
Post a Comment