15 Jan 21:
We had a 4x8 sheet of 1/4 inch marine grade ply and some 3/4 inch thick cypress in varied widths, so I thought we'd use that up first. We used several punt (flat-bottomed boat with a square-cut bow, designed for use in small rivers or other shallow water) plans to get an idea on what size pieces to cut, how long, how wide, how high. Our limiting factor on this BLUFF RATTY v1.0 Marine COnstruction Contract Design 1, Hull number 1 (MCC-101) is using only one sheet of 4x8 plywood. SUPER BLUFF RATTY (MCC-201), in design also, will use 2 sheets. Marine grade plywood is nice, otherwise work with you local lumber store or cabinet shop to order the best grade plywood you can, with waterproof glue, higher grades are best, they have fewer voids in the plies, smoother and thicker veneer, and more internal plies. Pressure treated plywood might be considered as well. Southern Yellow Pine, white pine, douglas fir or spruce would work fine for the solid wood, white oak best, some woods will need more care and maintenance and some are easier to work with. Availability of materials will usually be the main issue.
Those are the basics for material selection, there are builder decisions to be made. A white pine boat with the cheapest grade plywood could have a very limited lifespan of one season unless it is pampered with excellent coatings and stored out of the weather. It will be inexpensive and fun to build. A white oak or cypress boat with high grade marine ply, excellent coatings and silicone bronze fasteners could be a family heirloom "100 Year Boat" with reasonable care and maintenance, and it will also be fun to build. Either way there is fun to be had building a boat that will easily carry an adult and a kid, or a couple of kids. Crew capacity and weight will be determined soon and posted here, we are shooting for 2-3 crew, 300-400 pounds total weight.
Insert Materials List here.
Insert Plans here.
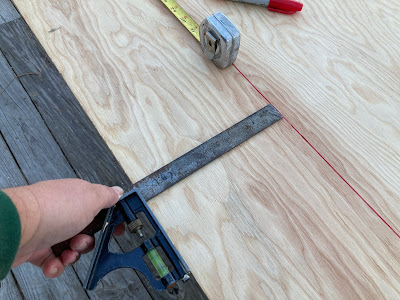
Using numbers floating around in our head, we cut 8 inches off each side to become the 2 lower planks (garboard). Once this is done, Congratulations! You are building a boat.


No comments:
Post a Comment