16 Jan 21:
We plan to incorporate design elements from BARBASHELA into BLUFF RATTY, one of the first is to put a small rake on the bow and reverse on the stern, so we found the angle using our BARBASHELA bow porch table and our pocket bevel.
After we cut the rocker on the garboards with a DeWALT 20V jigsaw, we clamped them together and sanded with 60 grit on a DeWALT random orbital sander to get the edges matched up. We'd like to have good fits where we can and plan to use thickened adhesives like THIXO or PL Premium to fill in any spots we miss, which will be a lot. (Note: All cuts could be made with a handsaw or jigsaw, and sanding could be done with sandpaper.)
2 side planks.
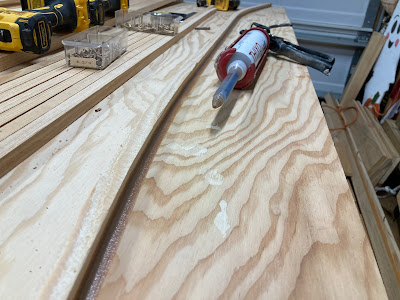
We used TotalBoat THIXO thickened adhesive to attach the chine strip to the side plank.
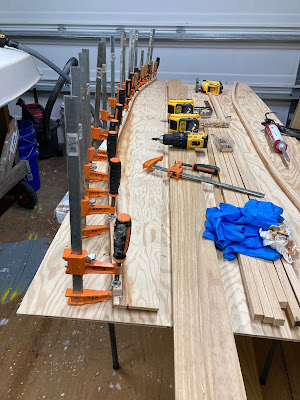
If you have a lot of clamps, use 'em. Light pressure only, just enough to hold the chine in place, too much pressure can squeeze all of the adhesive out of the joint. We wiped off most of the excess that squeezed out to avoid later sanding, and used a gloved finger to make a little curve over the plank/chine joint, like you do with tub caulk, this ensures the joint is epoxied and will help shed water off of the joint.
No clamps for the other side? We predrilled pilot holes through the plank into the chine for #6 x 3/4" screws, then fastened the plank with THIXO and the screws. Silicone bronze screws (Jamestown Distributors) are optimum, other options are marine grade stainless, stainless or exterior deck screws. Each step down in quality will shave years off of the boat's life.
2 chine strips attached to 2 lower side planks (garboards).
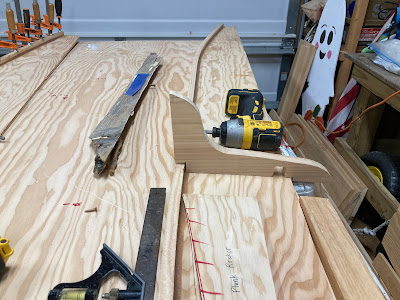
Next we started fiddling with frames, the "elbows that will hold the planks to the bottom. You could make the side angle straight, but we wanted a little flare to the sides, like BARBASHELA has. And the frames could be rectangles, but we wanted the curved feet and used a salvaged bit from BARBASHELA to get the curve. The bottom of our boat will not be flat side to side either, we want some V, so that will be incorporated into the frame angle and truss that runs side to side to connect the frames. We're putting 1/8th" of V across 15 inches of the truss, you can see the truss poking its head into the photo top right. The V bottom will help the boat track straight.
Prototype frame laying on its side, with notch for chine strip cut out. Thoughts here are to not make this notch a tight fit along the chine, to allow water to drain to a low spot in the bilge. Those drains are referred to as limber holes.


No comments:
Post a Comment