Gaff rig - 4 corner, fore-and-aft rigged sail, hoisted by an angled spar that does not cross the mast, called the gaff.
Lateen - fore and aft triangular sail set on a long yard mounted at an angle on the mast. See also Sunfish.
Lug rig - a fore-and-aft, 4 corner sail that is suspended from a spar, called a yard.
Sprit - small diagonal spar that supports upper aft corner of 4 corner sail. Can also be used for a boom.
Penobscot 14 ST. JACQUES sprit rig out for Sea Trials, Functional Test Float (FCF) for v1.0 of sheet and pop up rudder. (Video: https://youtu.be/ly0HbrCL01E)
Square rig - 4 corner sail carried on horizontal spars which are perpendicular, or square, to the masts.
Developed by ALCORT in 1952, first models were wooden.
Fiberglass model introduced in 1960, still produced today by Laser Performance. Over 400,000 built.
Favorite boat for the Pirate Skipper.
Yard - a sail spar that crosses a mast, most often horizontal or at an angle. Examples are square rig and lug rig. Drascombe Dabber VICTORY standing lug rig shown below.
Steve sent us a pattern for a Dabber rudder, we traced it onto a teak blank that we glued up, edge glued with Pettit Marine Paint Flexpoxy. The planks were left over from the floorboard, we cut square edges onto them to remove the radiused deck edge that they came with. In this photo I had started to sand the entire blank to remove epoxy squeezeout, then I thought, hey, why not cut out the rudder first, and save a lot of sanding?
Straightened up the tracing with a 2 foot Stanley Tools folding carpenter's rule and Sharpie, then cut out the rudder with a DEWALT jigsaw.
Cut the aft notch for the tiller dowel, cut kerfs up to the line then I was able to cut along the line without binding the blade.
Drascombe Dabber Rudder edges eased with a 3/4 inch roundover bit on a DEWALT compact trim router, except for the leading edge where the pintles will attach and the tiller notches. Then sanded with 60 grit on a Black and Decker 3 inch belt sander, finished with 120 grit on a Dewalt random orbital sander. Cleaned up the tiller notches with a Kobalt ceramic tile file. The Shopvac collected most of the sanding dust but not the jigsaw creation.
The bronze pintles (pins that attach rudder to transom) are vintage, we found them on ebay. They are tapered and the lower pintle is longer so that it slips into the lower gudgeon (tube part of the hinge) first, so we can concentrate on seating one pintle at a time while the boat is bobbing around.
Skipper usually feeds me if I bring her new boat parts!
VICTORY did not come with a bowsprit, so we made one out of spruce. The first thing we did was grab a nice spruce 2x6, 14 footer left over from the Penobscot 14 spar stock. Our buddy Steve had sent a drawing and we had a few other inputs that told us the bowsprit should be around 67 inches from jibstay stop to mast center, with a couple more inches extending forward past the stop. I decided to round up to 6 feet, the bumpkin will need to be about the same length as well. We will do final fitting with the spars and sails on the boat to see where to trim. So out of the 14 foot piece we could easily get two 6 foot blanks. Cut long and trim back slowly!
I made a few measurements of the width and height of the stem facing, width was under 1 1/2 inches and the height was about 2 3/4 inches, so a 2x4 six feet long would be enough for a bowsprit or bumpkin.
We cut out 2 small blanks to capture shapes at the stem hole and thwart stop, ripped them to height on a table saw. Next we 8 sided them and shaped them with hand planes to make patterns for the stem hole and the thwart stop. We transferred measurements over to the blanks, found the measurements for the aft end notch first, it is a little wider than the stem hole, so we'll have to taper the spar before it pokes forward through the stem.
Shaped the bowsprit patterns for where the bowsprit goes through the stem (right) and where it notches into the aft stop (center). Tuned up the cut with my new Stanley 12-101 finger plane, it works great.
The bowsprit ia about a 1/4 inch wider at the aft stop than where it goes through the stem, so we'll get to taper it at one point.
Stem port profile.
I ripped two 72 inch blanks to height and length. The 2x4 width was good for the aft end, and I used the table saw to shave the side of the forward section of the spar to get the width we needed to fit through the stem hole. I made a mistake and cut all of the the difference off of one side, a heavy 1/8 inch, and then realized I should have taken a little of of each side. After sitting in the moaning chair for a few minutes I decided I could shave a little off of the other side as well and spend some time fairing that transition from wide spar aft of the stem hole to narrow spar going through the stem hole. Basically that means that the section of spar that extends forward of the stem will be straight but offset about 1/16th of an inch to port. I won't be noticeable from a galloping horse. But if you ever see us competing for Best of Show, make sure you mention it to us.
I marked the stem face line so I know where I can start tapering the oval forward to a circle on tip.
Used the Lugger bumpkin to get some ideas on shaping the bowsprit, they we built by Honnor Marine within a year of each other. We marked the taper where it will start at a circle on the tip and flow into an oblong shap by the stem.
Once the rectangular blank was cut, we made it 8 sided on the table saw where we could, then belt sanded with 60 grit to 16 sided, then tuned it a bit more with 120 grit on a disc sander and finished it off with 120 grit by hand. The Dabber jib is set off of a bowsprit that extends about 3 feet off the bow. That'll take a little getting used to, I almost clocked myself on it as soon as I installed it. ZIP wants one now...
The jibstay loops over the end of the bowsprit, I'll have to add something to keep it from sliding aft.
I'm happy with that.
Removable. Might have to for launch, I'm not sure if it will clear the tow vehicle.
Wow the spruce didn't darken at all with the first coat of varnish! I'll see of the Skipper likes the lighter wood, otherwise we'll put some mahogany stain on it to make it dark like the spar that is way back in the corner.
The spar off the stern that leads the mizzen sheet is called a bumpkin. I made a little pattern piece to get the shape of the hole in the transom.
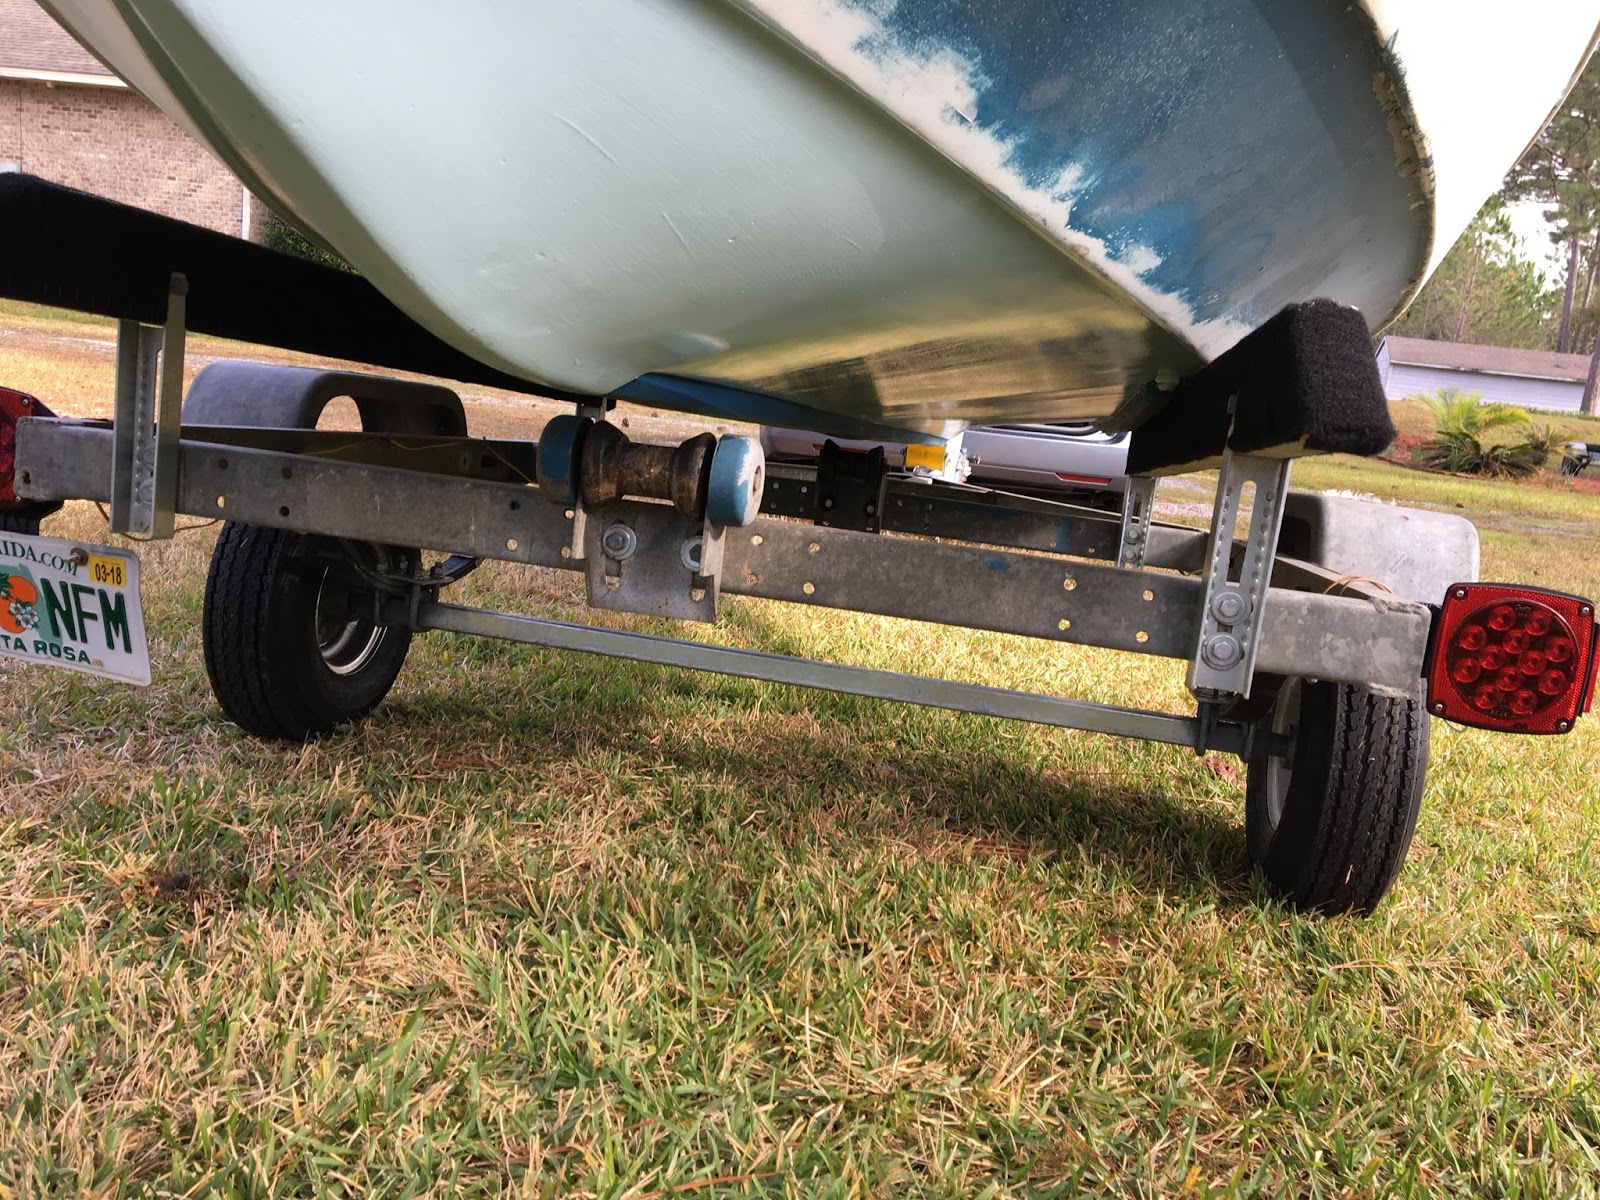
Bottom repairs are finished and trailer is back from rehab, loaded the 550 pound boat with ease.
New tilt latch and safety chain.
The boat is balanced great, just need to adjust the keel rollers.
Went to buy a piece of 1/4 inch marine grade fir plywood to laminate a new transom cap. The first piece they pulled was cupped and they were going to put it aside. I told them it looked perfect for what we needed and sure enough it has a perfect curve to match the transom top.
The boat and trailer have not needed chocks for a long time.
Stepped the main and mizzen mast, they are in good enough shape to be saved. Stays are in good shape as well as the halyards.
Picked up some cumaru Peruvian teak for the floor, started cutting out new slats.
Tips for the Lugger and Dabber floor - sole -
-1x6 deck boards work great. They are actually 5 1/2 inches wide, which leaves a nice gap between boards. Some also already have radiused edges, saves time.
-Use the old floorboards as a pattern for width spacing, cleat spacing and shape.
-Put a wide board on the outside slat and work inboard, where you will have the shorter, narrow center boards.
Removed non standard plywood floor that covered mast step and centreplate eyebolt. Took her to carwash, put on HazMat suit, vacuumed out leaves and acorns, then spent $70 giving her a fresh water rinse. Hey, there's a boat under there, in pretty decent shape.
Measured some cleats to order the right size line for centerplate uphaul, jib sheets, mizzen sheet, mainsheet etc...kind of reverse engineering. R&W Ropes was kind enough to send me marked samples of New England Rope Vintage a while back, so that helped take out the guesswork.