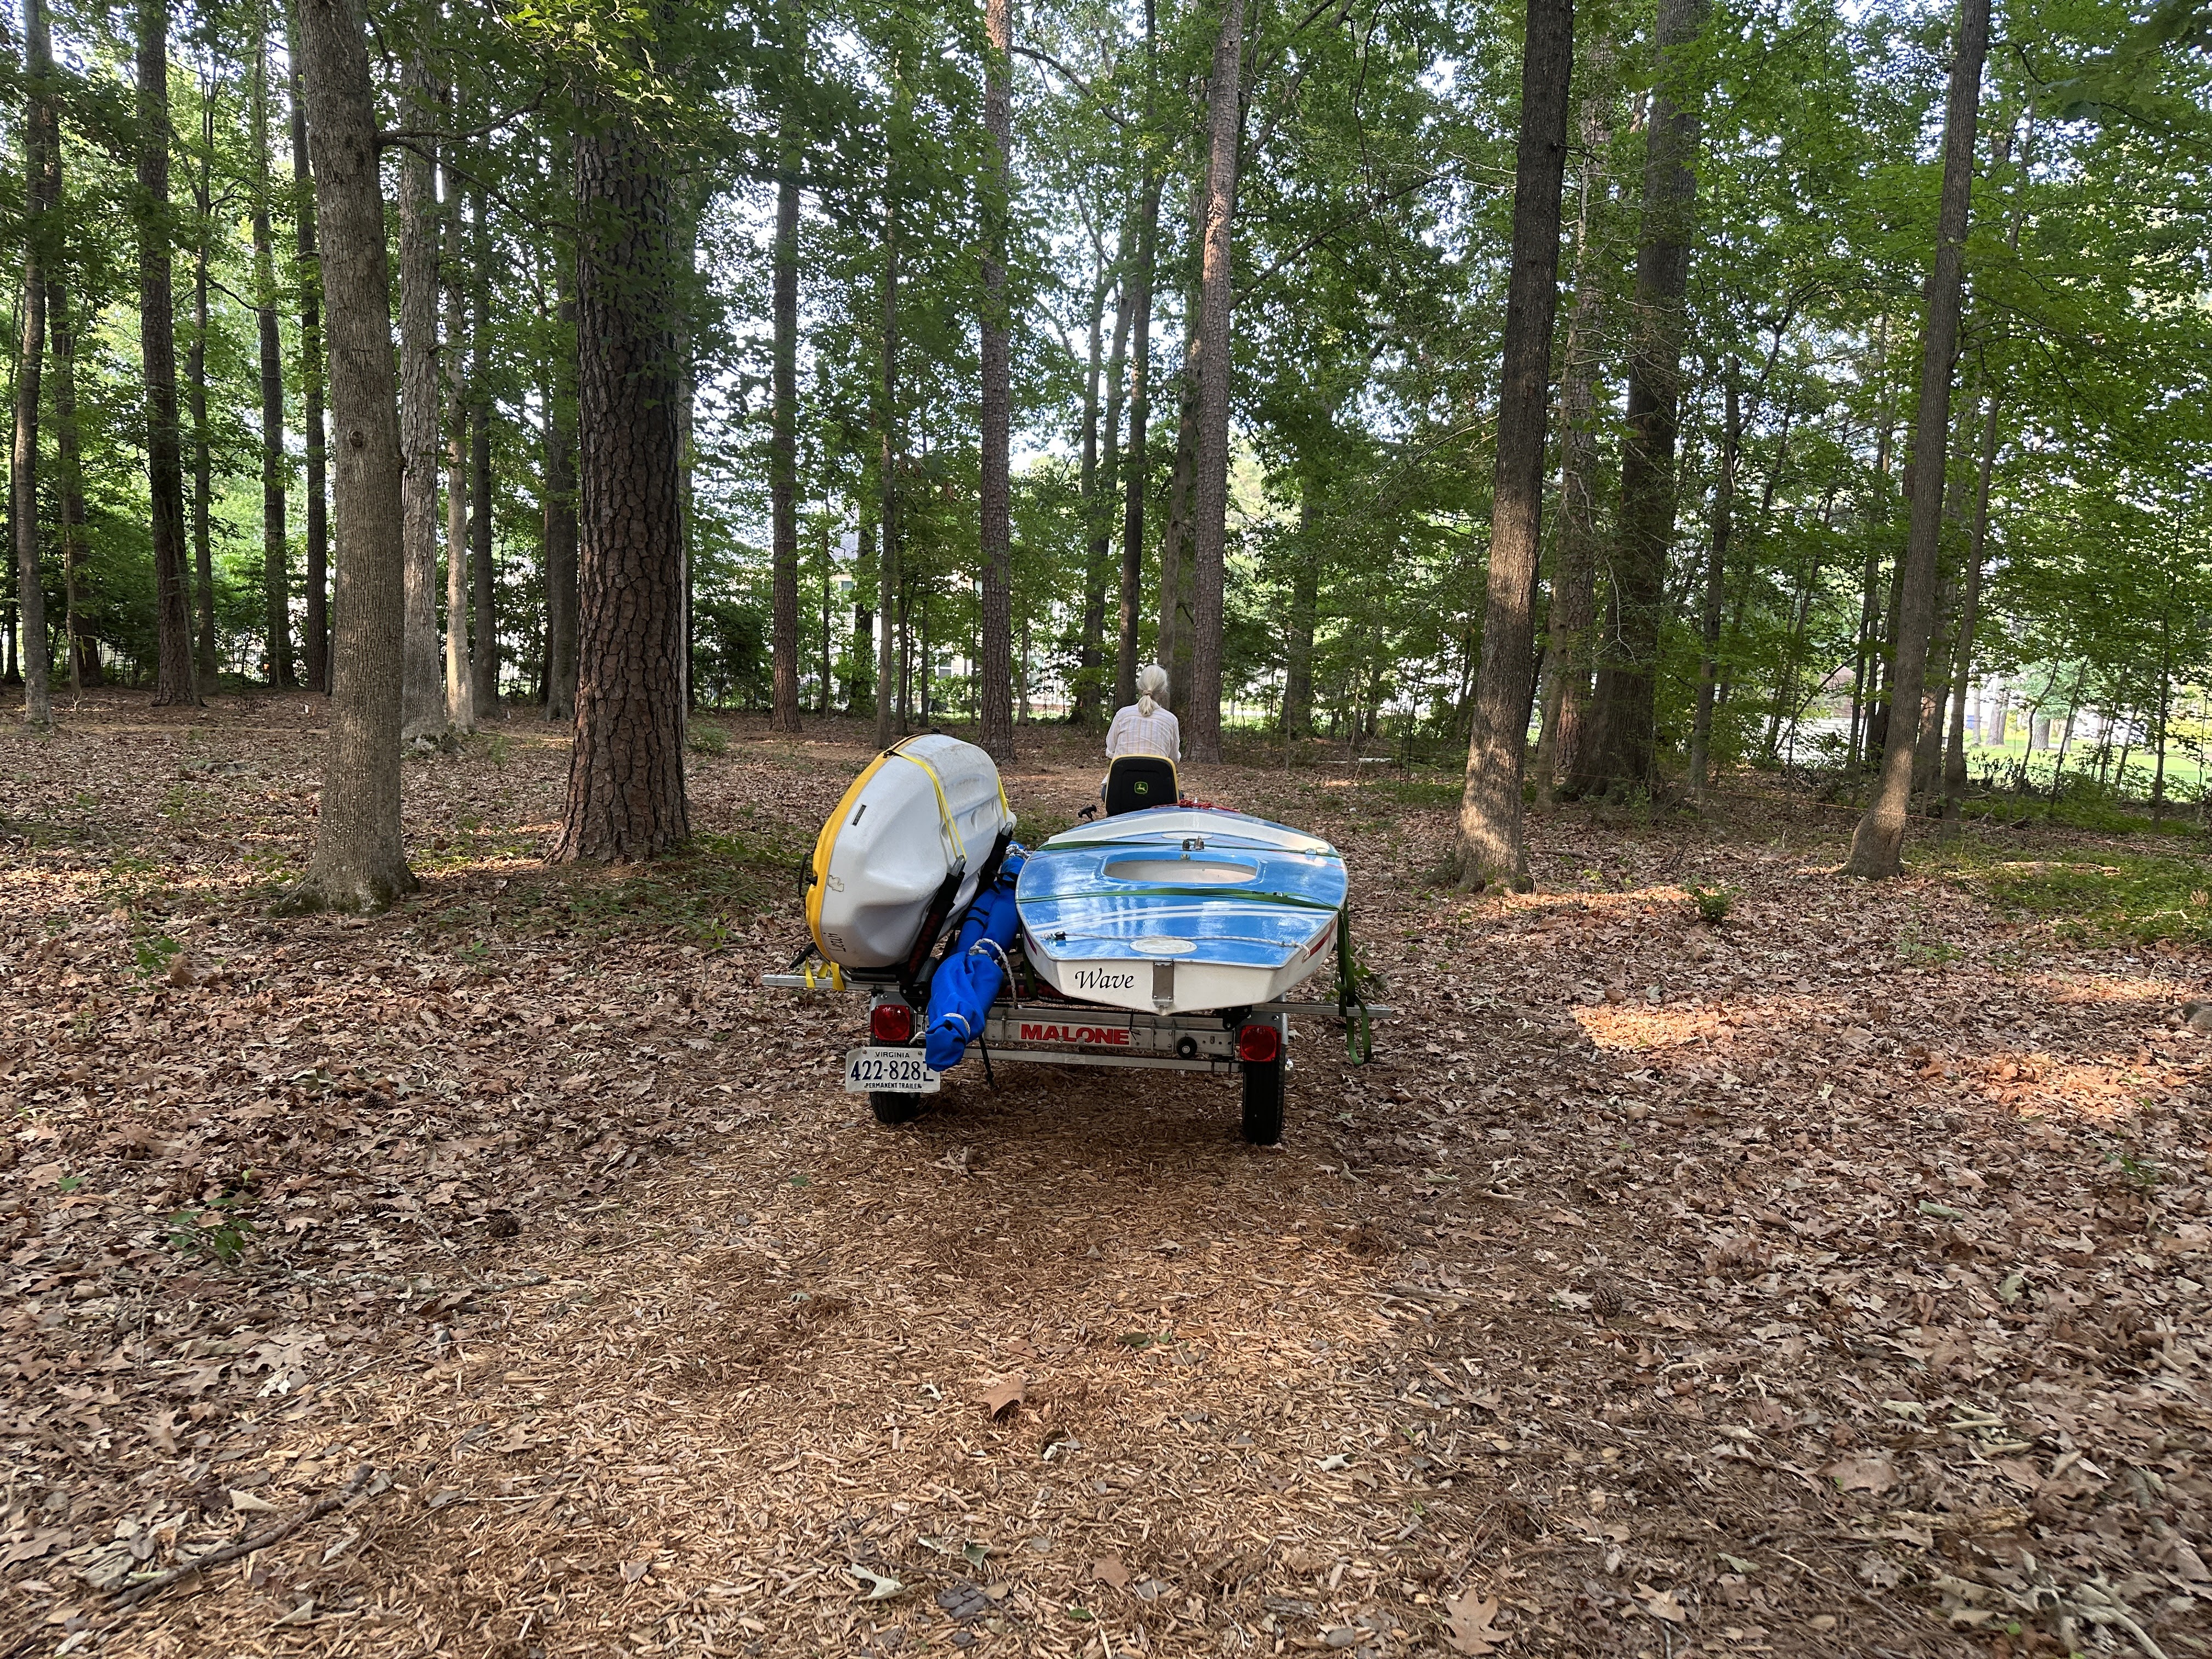
It was time to road test the new Malone MicroSport so we headed out to our spot on the lower James River with our Sunfish WAVE and Icon kayak SACAGAWEA. The trailer rode smooth and quiets, the boats stayed strapped securely to the pads and racks and we were raiding the beach in no time flat. The beach is mostly coarse sand with a good amount of pebbles and also remnants of crumbled brickwork from an old waterfront oystering business. Hard to medium packed sand and a shola bottom make this beach a good spot to dolly launch
We got Skipper rigged and launched, WAVE dcsided to fly her true colors today.
Skipper headed out to Marker 5 and said hello to an osprey.
Meanwhile I took a few photos and launched the kayak to be the photo ship.
Next we tested out the double paddle that we made last year. The paddle is light in weight and the blades are a good size for our leisure paddling, but we can dig in if needed.
Once again the Dynamic Dolly proves it is worth every penny spent, I was able to unload and load both the kayak and the Sunfish and roll them down the beach to our base camp. The kayak is light enough that we threw our beach chairs and snacks inside of it for the ride back to the car.
The Sunfish slid easily onto the dolly and loaded just as smooth back onto the MegaWing racks. We had plenty of tie down points and more than enough straps, we plan to use some shorter Malone straps as we fine tune our tie down routine.
We plan to go sailing on Skipper's 1965 Alcort Sunfish WAVE in a few days, and to get to the water we'll be using the new MicroSport trailer. We like to have everything on the boat checked out before we get to the beach, so we do a little land sailing at the house to check that we have all of the boat bits...important things like PFDs. the halyard, sheet, rudder, daggerboard, coffee...
For the next sail Skipper chose to fly her alternate mainsail, I rigged the boat and Skipper worked the sheet from her deck chair.
We like to use decommissioned running rigging for sail ties and other "tie-tie" duties. This line came from ONKAHYE's original 1980 halyard, so we spent some time today putting a spiral whip of waxed thread on the end to make things ship shape.
Spiral Line Whip Video: https://youtu.be/LrPKpKbWq8U
Weather forecast is good for tomorrow, so we loaded Skipper's 1965 ALCORT Sunfish WAVE onto the utility trailer. Gave us a chance to check out how the 6x12 trailer will work hauling a 14 foot boat, and everything fits great. Plenty of room and easy to load. The spars mostly fit within the trailer bed if laid diagonally.
Time to reattach the forward port side internal structural foam block, which also serves as flotation. We turned WAVE on her side today so we could pour the adhesive foam in and let gravity do the work of moving it between the structural block and the fiberglass hull.
The Sunfish made from 1960-2020 have 6 internal extruded polystyrene (XPS) structural foam blocks inside, 3 forward of the cockpit and 3 aft. These blocks are made from closed cell foam to resist water intrusion, and are held in place by 2 part marine grade flotation foam. The 2 part foam was at first poured, in the 1960s and early 70s, then a foam gun was brought in and as our friend, who worked at Alcort, Howie relates, "foam went everywhere."
In this photo we are inside WAVE, amidships, looking towards the bow, she is port side down, mast tube at top left of photo. WAVE's port side block came loose along the bottom during the hurricane, so we removed the old 2 part foam and reattached the forward end while the bow was open for repairs. The top strip of 2 part foam was still holding the foam pretty well, so we need to pour foam along the bottom edge, to the right.
Today we used TotalBoat 2 Part Polyurethane Flotation Foam. It is 94% closed cell, so it can get wet but should not be immersed for extended periods...neither should the innards of a Sunfish :)
A couple of notes about pouring foam, small amounts are best for us with multiple pours as needed:
-A LITTLE GOES A LONG WAY (ALGALW), the foam will expand easily to 10 times the amount poured.
-CAUTION: Wear protective gear, long sleeve shirt, gloves, long pants, the foam is a tenacious adhesive. The only time I thought I might need to go to the emergency room for building projects was when I got a lot of foam on one hand, I couldn't get the foam off for several hours, it dries hard, and I knew how the ER folks would want to deal with it. The product that took off the last of the adhesive was Harco's Miracle Wipes for Paint, lots of unpronounceable chemicals, so proper protective equipment would have been a better way to go.
There is strategy involved with a foam pour:
-The foam expands quickly, so how will you get the foam to the area you want in an expeditious manner? Some folks tape a small cup to a paint stick to reach remote areas, but place that cup outside on the concrete with done, and not the good concrete, the cup will probably melt.
-How much time do you have with the foam? Once it starts to expand, even a little, there is only a few minutes to get it poured, as it skins over quick. We also can feel the mixing cup start to get warm, time to pour.
-Work from the farthest area back to the closest.
-Orient the work piece so that the foam will run into the desired areas, strategic pieces of blue tape can help channel the foam until it skins over. One of Howie's tricks was to make little blue tape walls around the top of a flotation block to hold the foam so it doesn't run down the side of the block, then clamp down the deck while the foam expands.
-Speaking of blocks, they need to be held in place while the foam expands, or they can get moved out of position. We hold them for a few minutes when we can, or have used tape and paint sticks to hold them. At the factory they would pour the bottom of the block first and place bars over the top of the blocks, so they didn't rise above the deck crown. When they poured the top of the block, it seem like they may have inverted the boat, as there is not much foam running down the side of factory boats. But once the top of the block is poured, the deck/hull seam needs to be clamped shut while the foam expands, or else you might not be able to close the seam later.
Before we mixed foam I tacked the flotation block in place with Great Stuff insulation foam. We don't use Great Stuff for the entire block because it is not closed cell and can absorb water quickly. Next I poured TB Flotation Foam Part A Resin and Part B Activator equal amounts in 2 separate cups, then mixed in one cup. You could also pour in one mixing cup using the mixing ratio index marks on the side of the TotalBoat cups, which come with the Foam Kit. I poured to the lowest 2 mark on the 1:1 index, not much product, but as mentioned, ALGALW.
First pour, runny enough to get into the void but starting to expand.
Leftover foam. There is a photo below that shows how much it expands in just a few minutes.
We used this stick wedged against the daggerboard trunk to hold the aft end of the flotation block in place while the foam expanded, then removed it before the foam fully hardened. There are some boats out there that still have little stick remnants in them :)
First small pour, foam still expanding.
After about 5 minutes the cup is full, started off with just a little skim of foam on the bottom.
We let the foam tack up for a few minutes then finished rolling WAVE over, time for some finish sanding on the hull. We used 60 grit pads on a DeWALT random orbital sander to remove excess thickened epoxy and whatever bottom coating that had been applied to SALLY's hull. Dust collection system is a Dust Deputy cyclonic separator attached to a ShopVac.
Faired the seam with the sander, the new section was a bit proud along the seam.
Filled in the bigger nooks and crannies with TotalBoat THIXO Wood thickened epoxy. Why Wood? Because that's what we had. Even though the seam is water tight and there is a fiberglass seam plate inside the hull, we wanted the structural component of THIXO for the larger gaps. Faired over small nooks and crannies with TotalFair
We'll let this dry, smooth it down and go over the whole area with another coat of TotalFair.
I should let Skipper order fabric, she knows what she is doing and I MIGHT have over-ordered. 5 square yards of 6 oz fiberglass cloth and about 12 square yards of woven roving. Might be able to build another boat.
Jamestown Distributors sends out these nice mixing cups, and we highlight the ratio we are using so we can find the right column easily while pouring. Today it was 5:1 Epoxy. Resin to Hardener. Ignore the last 1.
We used Great Stuff expanding foam to adhere the top front of the structural blocks to the underside of the deck. It will work fine as long as we don't let water fill the hull for extended periods, it is not closed cell and would eventually absorb water. We used it here because we didn't want to split any more seam than was already split, and the deck could only be raised so high.
Put down a bead of THIXO Wood thickened epoxy then laid a one inch wide strip of fiberglass cloth. The cloth helps distribute and hold the epoxy in the seam, a tip given to us by Howie, who repaired built Sunfish for 18 years at Alcort then AMF, and then did another 10 years of warranty repairs.
Skipper wet out the cloth with TotalBoat 5:1 High Performance Epoxy
We used a syringe to inject thickened epoxy into the deck/hull seam when the gap got small.
New adhesive to fasten Capn Jack's bow handle stainless repair plate to the deck, that was his fix to where a previous bow handle had torn off and left a hole in the bow. We added a strip of fiberglass cloth to act as a catch basin for a THIXO blob, that will fill and seal the hole. Just to confuse you I have the stainless plate turned around facing the wrong way.
Hmmmm, Float Test or fairing and sanding next? Maybe an air leak test...
Worked on Skipper's 1965 Alcort Sunfish WAVE today, first we cleaned up THIXO squeezeout along the backer plate seam edge with a DeWALT 20V oscillating multitool, with the Porter Cable cordless shop/vac nearby to collect dust. Next we applied TotalBoat THIXO to the backer plate and then the new deck piece seam, oops not the deck edge seam. Wiped that off and applied THIXO to the inner deck seam of the new piece. Layed down strips of 2 mil poly sheet to keep fairing boards from sticking to the THIXO, then placed 10 pound sandbags on the boards to palace light pressure on the seam while the thickened epoxy dries. Put on the first coat of TotalBoat TotalFair, an epoxy based fairing compound that fills nooks and crannies and sands easily. OBTW Skipper made my mask, it is great to keep out dust while sanding and sawing, triple layered cloth with a nice leather tie. Does a better job than the N95 masks for this application.
https://youtu.be/XehjmqYPfK4
Skipper isnsisted on filming me removing the THIXO that I applied to the wrong edge. https://youtu.be/lccmwVvLJyY
THIXO stores well, just put the cap back on and get a few extra mixing tubes.
Ready to seal the deck/hull seam once the THIXO dries, and begin sanding the fairing compound.