19 Jan 18:
Bumpkin - a short spar projecting over the stern of a sailing vessel to sheet the mizzen sail. Also spelled boomkin or bumkin.
Spoiler alert, here it is!
Now back to how I cut out a new bumpkin from spruce for the Dabber VICTORY today. The transom slot for the bumpkin happens to be about the same height as the thickness of the 2x4, so we didn't have to cut that. Check your boat, as your measurements may vary. For the width of the transom slot, on our Dabber it angles out on the top, inboard side about 3 degrees, so I set a 3 degree bevel on the table saw and ripped a 6 foot long piece (it will be shortened later). Remember to allow for the blade angle when setting the width. I cut the blank a little wide, took it to the boat and marked how much to shave off, and brought the blank back to the saw for another cut.
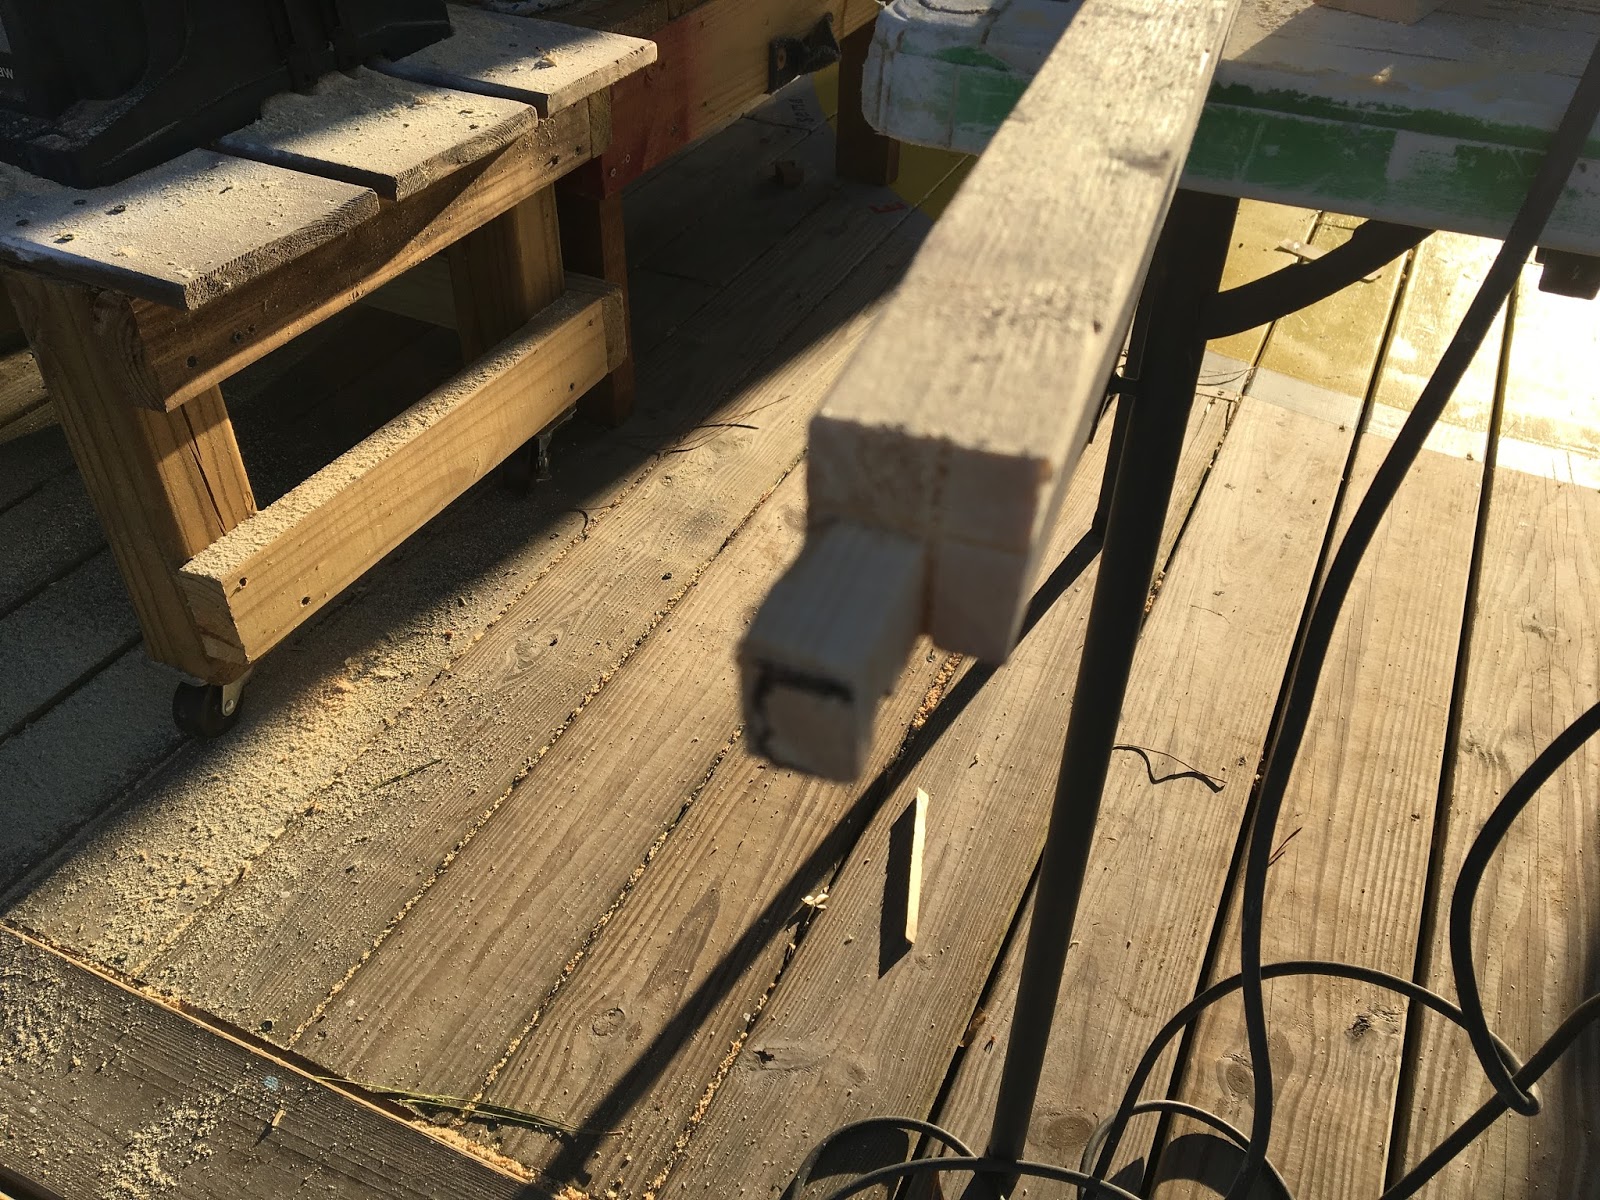
Once I got the blank to fit through the transom slot we marked the position of the dowel pin on the end of the blank. In this picture I had ripped the blank to the right size and made a square cut with a jigsaw around the dowel pin.
Public Safety Announcement (PSA) for Shop Safety time. When I used the table saw I forgot to reinstall the blade guard after removing it for a curved cut. That was not a good idea. There are a few cuts where the guard might be removed for some advanced wood butchery, but this was not one of them. A friend who lost a finger to a table saw reminded me to USE THAT GUARD. The time I saved was not worth the potential for losing a digit, trip to the ER, rehab and all. And I know we see it gone in all the DIY shows and youtube so maybe we think it is not that big a deal for it to be removed. It is.
The only way I could think to make the little dowel shape where the bumpkin pins into its step was to cut it square and then shape it with a rasp. That turned out to be pretty easy and fun, another option would be to buy a dowel and drill a hole in the end of the spar, then glue it into place.
Here is the little step that the bumpkin pin goes into, I shaved off a little at a time with the Shinto rasp until I got the fit I wanted.
INTERMISSION: Glamor shot of the carriage house.
Back to our irregularly scheduled programming. Wow it's long, about a foot too long here, but we cut it that way and we'll sneak up on the proper length. The measurements I was given said that the fairlead for the mizzen sheet should be about 60 inches, measured along the spar form the transom to the fairlead position. That should also give a measurement of 57 inches from the fairlead straight forward to the transom, isosceles triangle and all that.
Scribed a circle on the end so we can cut the corners off and make it 8 sided on the table saw.
I made the blank 8 sided from where it exits the transom out to the tip by shaving off the corners. I marked the spar where I would cut only the section aft of the transom. This picture shows how we cut just the corners off at a 45 degree angle to reduce the amount of wood we have to plane. A spokeshave and patience will produce the same result. Do not cut all the way to the forward end of the spar, you will lose the fit going through the transom hole.
Marked the spar at 61 inches, the fairlead will be centered over the 60 inch mark.
We sanded the big ridges with 60 grit on a Black and Decker belt sander and shaved some areas with a Stanley. Took the ridges further down with 120 grit on a Dewalt random orbital sander and then hand sanded with 120 grit.
A spar is born. Not as long as the camera angle makes it look.
Restoration Log of VICTORY:
Showing posts with label spruce. Show all posts
Friday, January 19, 2018
Tuesday, January 16, 2018
1979 Drascombe Dabber VICTORY 16 Jan 18 Bowsprit Construction
16 Jan 18:
VICTORY did not come with a bowsprit, so we made one out of spruce. The first thing we did was grab a nice spruce 2x6, 14 footer left over from the Penobscot 14 spar stock. Our buddy Steve had sent a drawing and we had a few other inputs that told us the bowsprit should be around 67 inches from jibstay stop to mast center, with a couple more inches extending forward past the stop. I decided to round up to 6 feet, the bumpkin will need to be about the same length as well. We will do final fitting with the spars and sails on the boat to see where to trim. So out of the 14 foot piece we could easily get two 6 foot blanks. Cut long and trim back slowly!
I made a few measurements of the width and height of the stem facing, width was under 1 1/2 inches and the height was about 2 3/4 inches, so a 2x4 six feet long would be enough for a bowsprit or bumpkin.
We cut out 2 small blanks to capture shapes at the stem hole and thwart stop, ripped them to height on a table saw. Next we 8 sided them and shaped them with hand planes to make patterns for the stem hole and the thwart stop. We transferred measurements over to the blanks, found the measurements for the aft end notch first, it is a little wider than the stem hole, so we'll have to taper the spar before it pokes forward through the stem.
Shaped the bowsprit patterns for where the bowsprit goes through the stem (right) and where it notches into the aft stop (center). Tuned up the cut with my new Stanley 12-101 finger plane, it works great.
The bowsprit ia about a 1/4 inch wider at the aft stop than where it goes through the stem, so we'll get to taper it at one point.
Stem port profile.
I ripped two 72 inch blanks to height and length. The 2x4 width was good for the aft end, and I used the table saw to shave the side of the forward section of the spar to get the width we needed to fit through the stem hole. I made a mistake and cut all of the the difference off of one side, a heavy 1/8 inch, and then realized I should have taken a little of of each side. After sitting in the moaning chair for a few minutes I decided I could shave a little off of the other side as well and spend some time fairing that transition from wide spar aft of the stem hole to narrow spar going through the stem hole. Basically that means that the section of spar that extends forward of the stem will be straight but offset about 1/16th of an inch to port. I won't be noticeable from a galloping horse. But if you ever see us competing for Best of Show, make sure you mention it to us.
I marked the stem face line so I know where I can start tapering the oval forward to a circle on tip.
Used the Lugger bumpkin to get some ideas on shaping the bowsprit, they we built by Honnor Marine within a year of each other. We marked the taper where it will start at a circle on the tip and flow into an oblong shap by the stem.
Once the rectangular blank was cut, we made it 8 sided on the table saw where we could, then belt sanded with 60 grit to 16 sided, then tuned it a bit more with 120 grit on a disc sander and finished it off with 120 grit by hand. The Dabber jib is set off of a bowsprit that extends about 3 feet off the bow. That'll take a little getting used to, I almost clocked myself on it as soon as I installed it. ZIP wants one now...
The jibstay loops over the end of the bowsprit, I'll have to add something to keep it from sliding aft.
I'm happy with that.
Removable. Might have to for launch, I'm not sure if it will clear the tow vehicle.
Wow the spruce didn't darken at all with the first coat of varnish! I'll see of the Skipper likes the lighter wood, otherwise we'll put some mahogany stain on it to make it dark like the spar that is way back in the corner.
The spar off the stern that leads the mizzen sheet is called a bumpkin. I made a little pattern piece to get the shape of the hole in the transom.
Fun day!
http://smallboatrestoration.blogspot.com/p/drascombe-dabber.html
Subscribe to:
Posts (Atom)


