Tuesday, June 28, 2022

Summer Sailstice Recap

 28 Jun 22:

We took a look back over the past few Summer Solstices. In 2017 we were Float Testing ST. JACQUES and making her spars.


2018 saw us Float Testing BOOMER, a 1980 Sunfish


2019 had us pondering the O'Day Day Sailer II.

2020 was time for Sea Trials after we completed repairs on 1953 Alcort Sunfish ZIP.


2021 This was the closest we got to sailing during the Armada Homeport change.


2022 was pretty exciting!


Stay Tuned.

Small Sail Stitching - Moaning Chair

 21 Jun 22:

I spent some time in The Moaning Chair recently, while sewing together the Sailrite lug sail kit for our Nutshell Pram EXCUSE ME. I read the instructions wrong and put one wide zigzag stitch right down the middle of the panel seams. The prescribed method would have been a smaller zigzag next to each edge of the seam,  or a straight stitch next to each edge. 


Luckily the folks at Sailrite are very responsive to queries, and their sailmaker Jeff said this method should be okay on this small 37 square foot sail, just to check it periodically for abrasion and repair any loose stitched areas. Moaning Chair time over.

In the process of researching my goof, there was an excellent learning lesson about the straight zigzag stitch, which is a zigzag where each tiny row of straight has 3 stitches versus one. Professional lofts use this stitch sow that they only have to make one pass over each seam. In 3 decades of sail ownership, I never noticed. And I finally found a stitch that even Skipper's stable of machines won't do...so she might be on the hunt for a 7th machine. 


Our 1950s Alcort Standard Sailfish sail seam has 2 rows of straight. Plus it is a silk cloth, we believe this sail may have been done by the Old Town loft, which provided early sails to Alcort


Our Grumman gunter was done by a private loft back in the day, they might have been in a hurry...


ONKAHYE's suit of sails has double zigzag along the panel seams. 


Nice to have a sail rig that fits inside the tow vehicle :)

Log of EXCUSE ME.

Monday, June 27, 2022

Carry On 6x12 Aluminum Trailer

27 Jun 22:

We are ramping up for trailer sailing, and to support that we bumped up our Carry On trailer fleet from a 5x10 steel trailer to a 6x12 aluminum trailer. The 5x10 worked, but we could not open the hatch with a boat loaded. A big surprise to us was that the larger aluminum trailer only weighs 71 more pounds than the steel, 771 vs 700. It rides on 15 inch wheels vs 12s, and the wider ramp is more freindly to loading and unloading. The acrobatics involved with pulling the dolly up the trailer and running out of room to walk at the front were also eliminated. ANd the aluminum should hold up better in the marine environment.


I guess we'll call this trailer HUEY II.

Huntington Park Ramp James River VA

 27 Jun 22:

Did a Ramp Recon at Huntington Park, Newport News, VA on the James River. Nice wide ramps and floating docks. Plenty of parking. A few tacks, oars or a motor would be required to maneuver clear of the jetty and out of the tight channel. Then it's clear out to the James River. Large traffic will be in the channel on their way to go under the JRB lift bridge.  The 415 foot lift spans over the shipping channel, with a clearance of 145 ft when raised and  59.7 ft when lowered, barely enough room to get the pram underneath...


Upstream.


Downstream. JRB Lift in the distance.


Nice public beach next door.


Plenty of parking for our new trailer...oops, that was supposed to be a surprise. 

Harbor Freight Folding Trailer Learning Lessons

17 Jun 22:

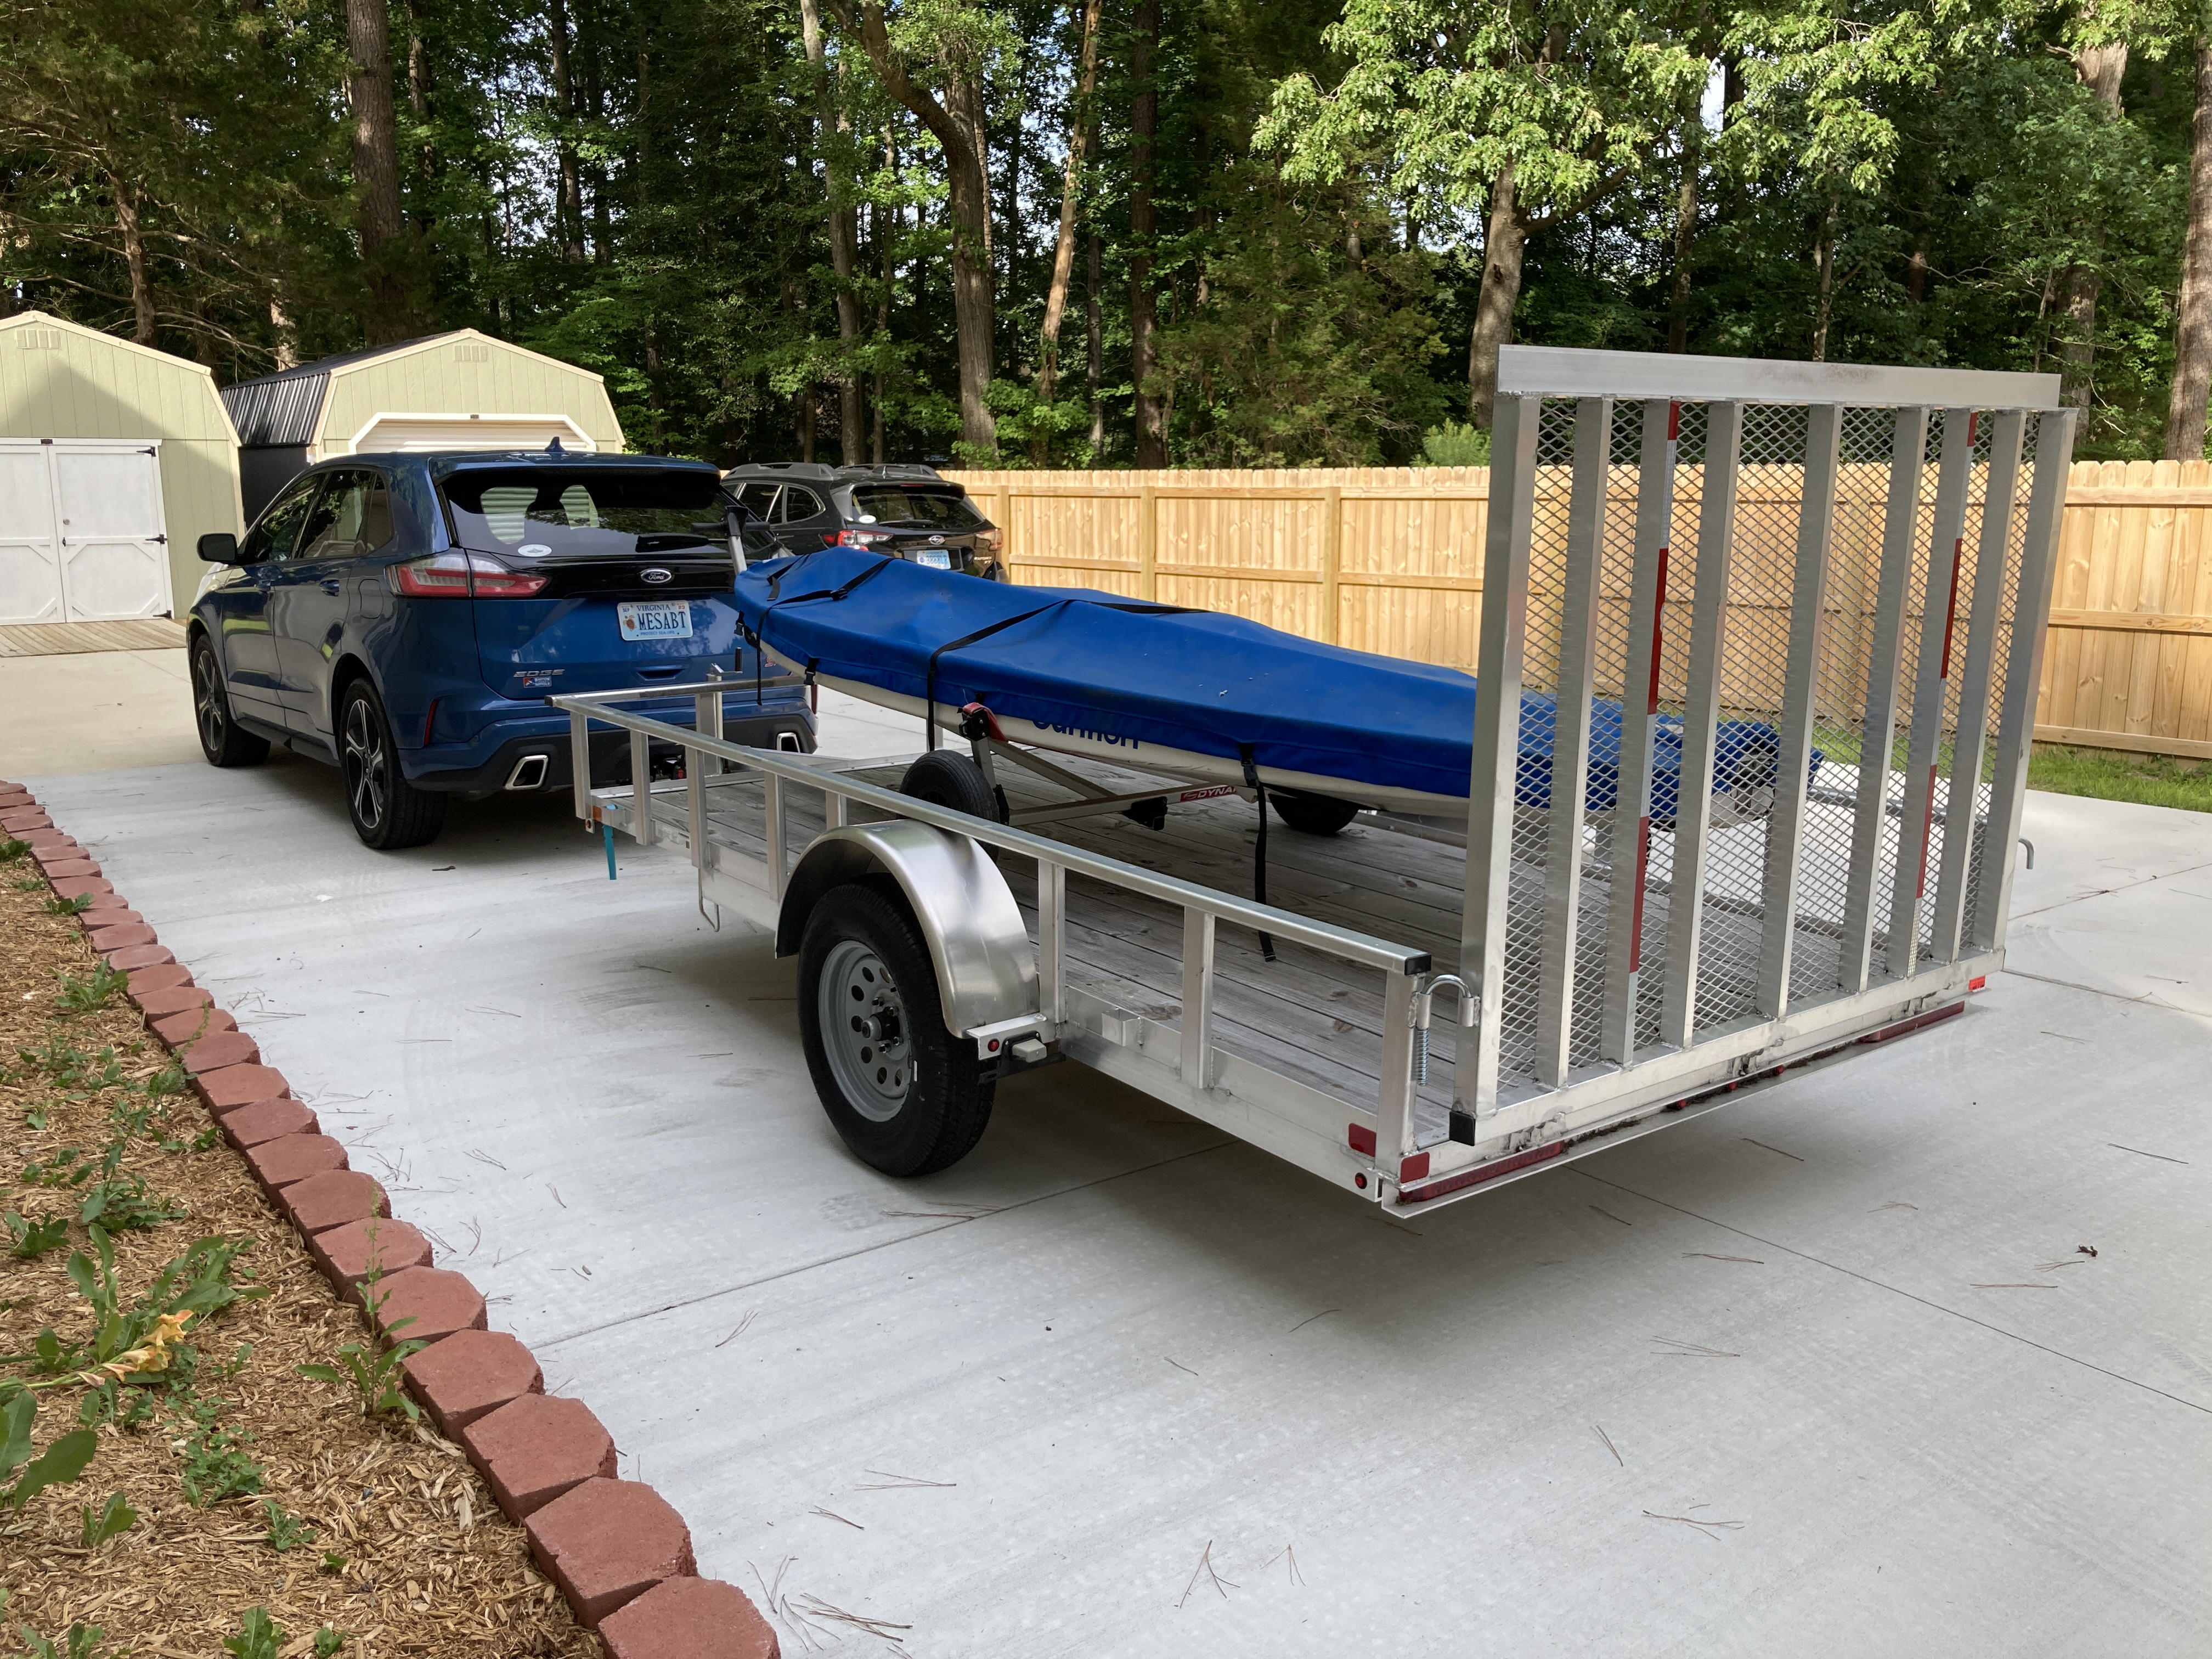
We are going to try out the Harbor Freight Folding Trailer...some assembly required.


It pays to watch a video on the assembly and read ALL of the instructions before assembly, there are 2 loner machine screws hiding in the bag of 8- screws.


Also essential to note that the top recommended speed is 45 mph. Seems low, we'll reach out to the manufacturer to see if that is indeed the case. But it will work for short local trips.

27 Jun 22:

Spoiler Alert: While this trailer has been a good trailer for some in the past, with modifications, we determined it would not work for our Armada. So back to Harbor Freight it went. They gave us a 100% refund. 


45 mph speed limit. Strike 1. When we got to this stage of assembly, when the instructions said to bolt together the two frame halves....Hmm, how does it fold if the two halve are bolted together? I fast forwarded to the folding instructions, and in addition to having to unbolt the frame halves, there are 4 bolts that need to be removed from the leaf spring brackets. In the time frame of what how long it takes to circle the Sun each year that wouldn't take long, but the idea of crawling under the trailer to bolt/unbolt  to fold/unfold did not appeal to us, so Strike 2.


The trailer components had been outside for a week and it had rained. The nylock nuts had turned chalky from surface corrosion, which is NOT what we experienced with the previous Harbor Freight Small Boat trailer that we owned, and that trailer was in a saltwater environment.


Leaf springs joined the rust party. Strike 3. But in all fairness I must mention that the instructions said to store the trailer in a dry location when not in use...and I suppose to only use on sunny, dry days?


The leaf spring bracket fastener holes did not line up. Strike 4.


There are a lot of these trailer on the road, the few that we have researched have modifications done by their owners. Some made reinforcing plates to hold the two frame halves together, some folks have replaced hardware and leaf springs, sprayed rust with cold galvanizing compound, some have left the 4x8 plywood deck as one piece vs two, some still use the original 8 inch wheels and report highway speeds of 75 mph....well we hope they were on the highway. So this may be a trailer for some if they like the Theseus' Ship approach to things, but this was not the trailer for us. 

Spoiler Alert #2...We have found the trailer that is for us...news to follow...

Friday, June 24, 2022

Nutshell Pram EXCUSE ME 24 Jun 22 Making the Mast

 24 Jun 22:

The Nutshell Mast is 8' 5" long, and the widest diameter is just above the base where it flares to 2 3/8". The bulk of the mast is 2 1/8" though, so we decided to make the blank 2 1/8" and save on some carving. It should be plenty strong, as a comparison our Sunfish mast is 2 1/4" diameter and it carries 75 square feet of sail, twice that of the Pram. We just have to remember down the road to cut the mast thwart hole to 2 1/8". 

We cut 2 pieces to length, then ripped them 2 1/8" on one side and 1 1/16" on the other. For adhesive we used TotalBoat THIXO Flex dispensed from their 2 component epoxy resin and hardener cartridge in a 25:1 High Thrust Caulk Gun. 2 beads of epoxy per face then we spread it with a paint stir stick to ensudre full coverage.


We laid down some plastic sheet to keep the mast from sticking to the floor, a little of the plastic stuck to the epoxy though, not an issue as it will be sawed or sanded off. Poly sheet would work better. We clamped the mast every foot or so and used the plywood floor edge line as a visual guide to make sure the mast blank is mostly straight


When tightening clamps a small amount of epoxy squuezeout should be seen, then it is time to stop clamping, the thickened epoxy has filled gaps at this point. Any further clamp pressure could force epoxy out of the joint. Plus as the wood absorbs the epoxy some of that small bead will be drawn back into the seam.


Here is a small spot where no epoxy squeezed out, so we later added a dab of epoxy with the caulk gun.


Lug Sail String and Bling

 24 Jun 22:

So once the sail is made it's time to outfit it with a lot of string and bronze bling. The lug rig needs a halyard, sheet, reefing lines, ties for the peak, throat, tack and clew, lacing line for the yard, snap schles for the sheet and boom and some thimbles for the sheet. 


Reef line...in case you need to reef 37 square feet...We used New England Rope Vintage 3 Strand, whipped the ends.


Sheet snap shackle.


Luff reef line.


Yar outhauls and lacing.


Deadrise Archaeology

 24 Jun 22:

We had a full day of cupcake baking and potato salad making scheduled but when I mentioned taking a trip to Tyler's Beach to check the set of the new pram sail on the new spars, Skipper dropped her apron and grabbed her hat. The sail photos will be coming 01 July in Small Boats Magazine, plus we'll post a few more that they didn't use. There's something to be said for a sail rig that fits inside your car...

While at the ramp we checked in on the dwindling deadrise fleet, only two remain. We hope their owners have plans to use them, although both have been in various stages of sinking over the past year. 


A third boat was unceremoniously burned and then drug over the seawall a few months back, then bulldozed. Her pile is dwindling but part of the keel and bow remain, offering a study on how the cross planked deadrise was built.


Part of me wanted to check with the County and see if they'd like me to remove what remains, maybe replace the missing parts, but Skipper says it has hauntedvirus. So we'll watch the rest of it slowly disappear.

Thursday, June 23, 2022

Pram Sighting

 23 Jun 22:

I cruised by the docks at Smithfield Station and spotted this pram, it appears to be being used as a tender for a visiting yacht. It has some interesting features and I need to go back and find the owner to see what their sail rig looks like. I suppose they made the daggerboard cap a little wider so a single rower could row from amidships. The white board by the trunk is a trunk plug for when they are towing and I'm not sure what some of the other loose lumber is for. The canvas bumper is nice, we are not going to attach one to EXCUSE ME unless we find a yacht to be her tender. Right now she has a nice strip of hard mahogany and we kind of like the idea of her scaring fancy yachts in the harbor as she cruises by unbumpered.

Nutshell Pram EXCUSE ME 23 Jun 22 Spars

 23 Jun 22:

We cut up some lumberyard 2x4 spruce for spars today, we picked the best boards we could find with as few knots as possible along the edges. We cut the yard to length first with a small circular saw.


Before we cut to width to make the square blank, from which the round spar will be shaped, we marked where the yard taper from middle to end begins. The small knot will be removed as we round the spar. And if it becomes an issue, we'll select another piece and try again. These spars are very small so it won't take long to shape them. One trick folks try is to buy a 2x6 versus a 2x4 in hopes of finding clearer grain to select from.


We found the maximum width of the yard and used the DeWalt portable table saw to make a 4 sided blank to that measurement. With the yard squared we marked the taper on the end. 


There is so little taper that we worked the corners off with a spokeshave, then mostly rounded the yard. On a larger piece with more taper, we could use a batten for draw the taper on the sides and shave the excess off with a bandsaw, the shave the adjoining sides, use a spar gauge to 8 side the spar, sand etc...but that would be some very fine cutting on this small of a spar. Old Timers might even leave the mast or boom square and just go sailing, what's a few ounces of weight between friends?


Log of EXCUSE ME.