Began sanding the interior of the Nutshell Pram, we used 120 grit pads on a DeWALT random orbital sander. Most of the sanding was around the sams, knocking down any sharp edges of squeezeout epoxy. Along the way we are visually inspecting to make sure there are no voids it the seam, that we got a good fill.
The good news is that an 8 foot boat gets sanded quickly.
More sanding to remove old paint on WAVE and we uncovered the shadow of her old Hawaii registration numbers, HA 1988 B. She must have had them for a while, the surrounding gelcoat is pretty sunburnt.
And her vintage alcort sticker shadow.
We also uncovered the Blood Stripe that Capn Jack had painted on her back in 1994. We painted over it around 2000, and are going to put it back with her new paint scheme.
The stripe started 36 inches back from the bow and ended 18 inches shy of the transom.
Flipped CHIP, ready for deck paint. Ser No. 11501 = 1963.
40 grit on a DeWALT random orbital sander to get rid of the paint and primer remnants. Hooked up the shopvac with a HEPA filter to capture most of the dust.
Found the location for the splashguard.
Made a template to record splashguard locations and a pattern of the splashguard.
While the sander was out we cleaned up the daggerboard, mast step and splashguard.
Primed the deck with TotalBoat Topside Primer. We had a partial can of gray and 2 cans of white, so we mixed the white with a can of gray to stretch it.
Laid out the deck graphics and made a pattern.
Interlux Brightside Largo Blue, thinned 5%, brushed, for the bow and stern.
Bleached the daggerboard with straight Clorox, let it dry overnight, it came out great, and part of the deck is clean now!
Our new favorite varnish, TotalBoat Halcyon Rugged Amber Gloss. One hour between coats, no sanding, soap and water clean up. What I really like is the Pour Pack, pour out what you need, squeeze out the air and it stores great. We like 2-3 coats, primarily for protection. We have not tried 6-8 coats like some folks do with other varnishes, so we don't know how well it builds.
First coat of TotalBoat WetEdge BluGlo White, brushed 100%.
Put our 1971 O'Day DaySailer II CYANE back on her trailer so we can sand and paint. Pumped the bilge, had some rain water from recent deluges leak inside. Sanded the deck and topsides with 120 grit on a DeWALT random orbital sander. Uncovered an artifact on the stern, didn't realize that the boat used to have an O'day logo just forward of the transom. Covered her back up until the rain passes through.
Rolled ZSA ZSA outside on the finishing dolly for some sanding.
Sanded fairing compound with 40 grit then 120 grit on a DeWALT random orbital sander, then lightly sanded the first coat of primer with 120 grit. This photo is before sanding.
Applied second coat of TotalBoat Topside Primer with a Mighty Mini roller.
Ready to do some work on SUGAR 2 but thought we'd check to see if she took on water at the car wash.
Grabbed a couple of carpenter trestles for SUGAR 2, she'll get worked on out at the Carriage House.
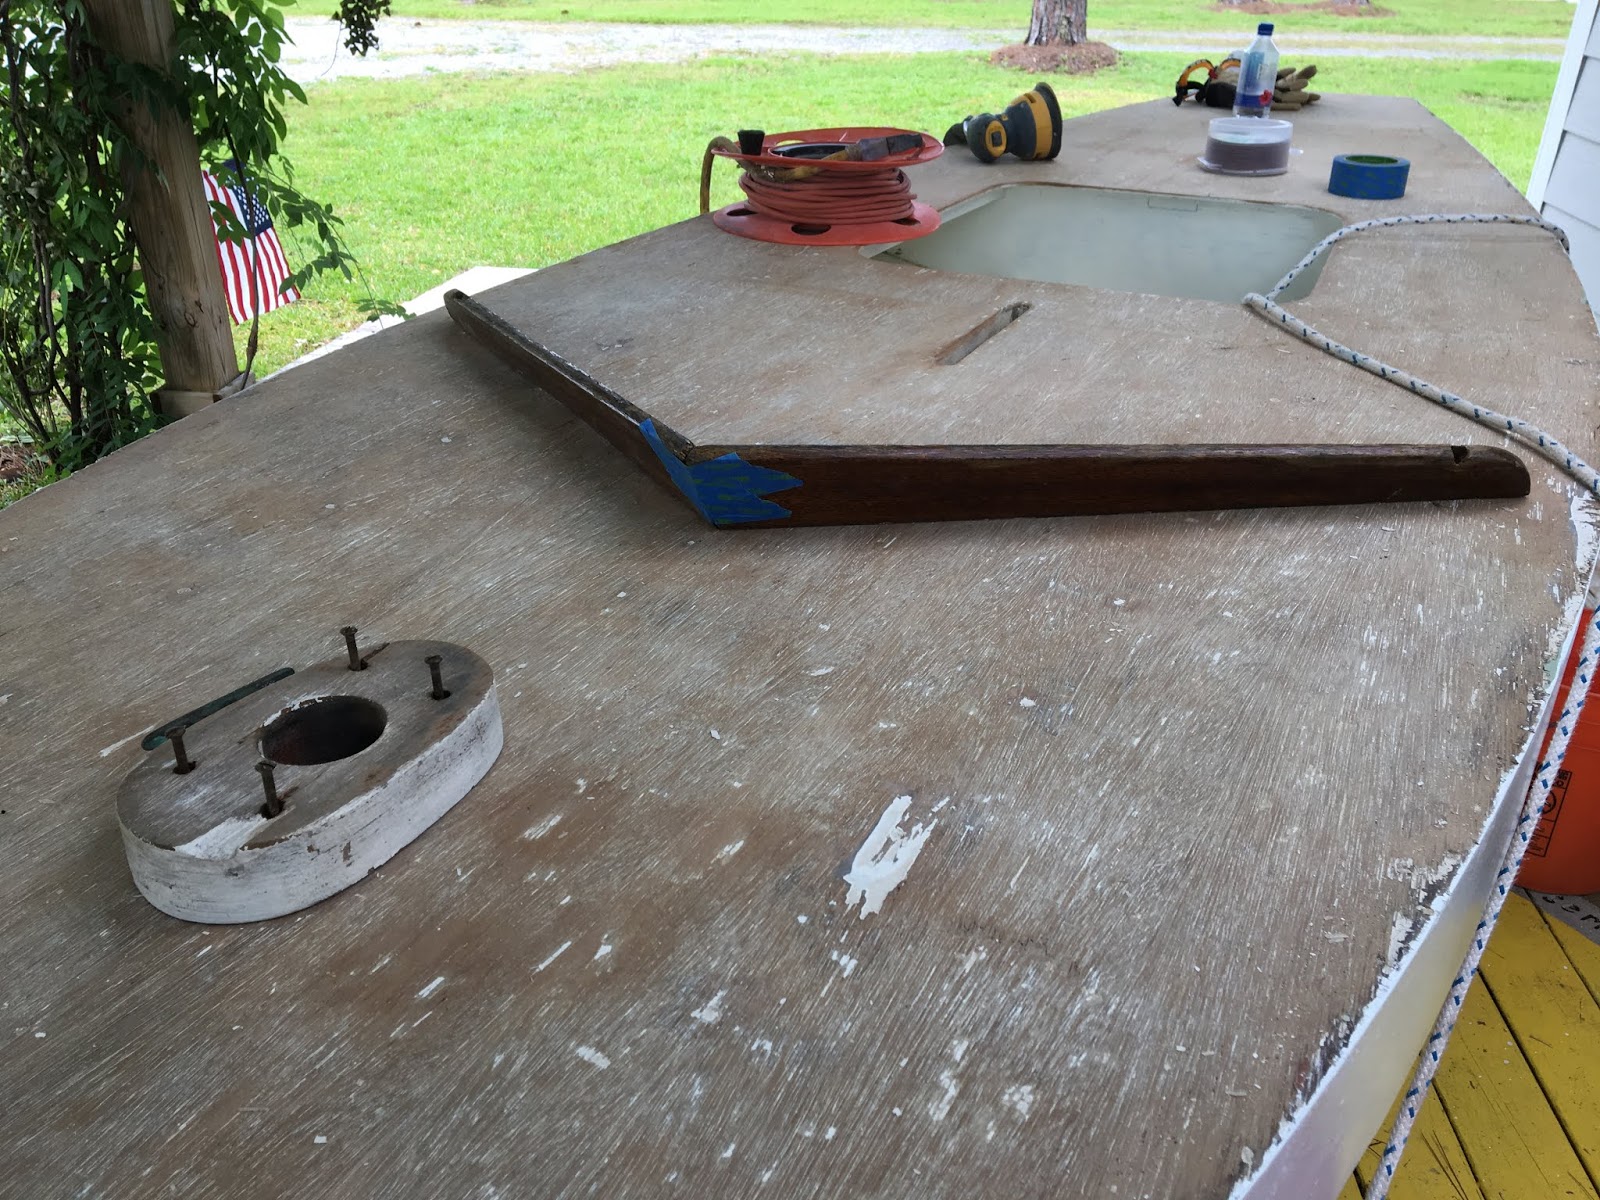
The halyard cleat backer block needs replacement, plus it is a good idea to have an inspection port to sponge out water, so we are adding a 6 inch port just ahead of the daggerboard trunk. The port cap makes a nice template to mark the hole size.
We use a jigsaw to cut the hole, and make a starter hole for the jigsaw blade with a 3/8th inch drill bit. If the gelcoat is nice, we tape over the deck with blue tape and draw the circle on the tape, to protect the gelcoat from vibration marks from shoe of the jigsaw. Another tip from one of the team was to tape the shoe.
A look inside at the guts.
The EPS foam structural and flotation blocks are in great condition as well as the expanding foam that holds them in place. There are some light spots on the mast step tube and daggerboard trunk that indicate chipped resin. The halyard cleat backer block is gone and someone siliconed in molly bolts :( But the halyard fairlead backer is still in good shape.
Wrong cleat and wrong fasteners, we cut off the cheapo molly bolts with a DeWALT multi oscillating tool. We will repair the huge holes left from the molly bolts.
SUGAR 2 hasn't even made it all the way off of the trailer and the inspection port hole is already cut and crummy cleat removed. We left her tilted so the little bit of water could drain out.
Interior is drying out, turned our attention to the bow handle. No molly bolts, yay!
We removed the weird handle and probed the holes to see if there was any remnants of the wooden backer block. What we did is poke inside the hole with an awl or paper clip to feel for solid wood. If there was still wood there, then we could have repaired the hole with thickened epoxy and a dowel or toothpicks, let it dry and redrill new holes. Or move the bow handle aft a 1/2 inch or so to drill into new wood. We also drilled a small hole and watched to see if wood shavings came out, no luck, that would have indicated that there was still a block there. S we'll split the bow to put in a new backer block.
Flipped the boat to sand off old fiberglass repairs. We used 40 grit on a DeWALT random orbital sander to take down the big blobs of resin and fiberglass and 120 grit pads to remove the old paint. Our thought was to paint the entire boat but we may be able to salvage the center section and just paint the bow and stern. Also removed the bailer and checked the cockpit/hull bailer seam for splits.
Skipper dug out the old sealant from the daggerboard trunk.