21 Aug 22:
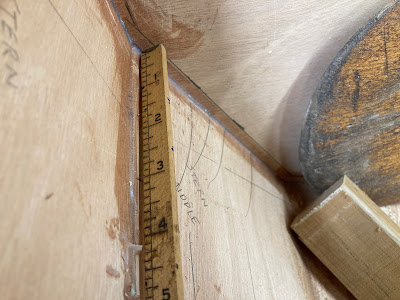
Took a measurement from the plans to figure out how far forward the aft thwart goes from the stern transom. From there we can determine thwart cleat placement. 3 inches is what I came up with.
We want the thwart about 1/4 inch below the plank line, so we used some scrap to mark the thickness of the thwart, which then shows us where the cleat support will be attached underneath. Mark around the cleat with a pencil.
Now that the cleat position is marked we can drill small holes from the inside, to show us where bigger holes will be drilled from the outside.
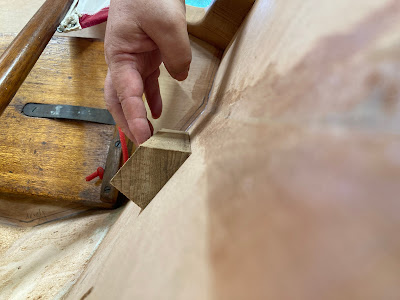
The cleat need a bevel on the top so that the thwart will sit flat. With the hull level side to side...mostly...we can use a level and pocket bevel gauge to find the bevel for the cleat.
Then we transfer the angle over to our saw or handplane of choice, which today is a bandsaw. OBTW we haven't used a bandsaw a lot, in fact we just bought this used Delta 12 inch over the Winter.
We used the corner of the cleat as our cut line, seems I wandered a little but I'll fix that with a hand plane or sander....Spoiler Alert...the sander was faster.
TLAR Method...That Looks About Right.
Now we drill those small reference holes from the inside face of the plank, only deep enough to get through the plank. The larger pilot/counterbore will come in from the outside of the plank. I goofed here, can you see what I messed up? I marked the top and bottom of the cleat, but not the fore and aft. So my SWAG (Sophisticated Wild Ass Guess) for where the aft hole could go was too far back. Look close and you can see the little 3 inch pencil mark just above...and forward...of the new hole. I figured it out when I drilled the pilot hole from the outside with the cleat in place...and missed the cleat. Oops. No time for The Moaning Chair, there's quite a few designed epoxy holes on this boat, anyone who points out one more hole can watch us have fun boating from their vantage point ashore. A new pilot hole further forward and some thickened epoxy got us back on course.
Another thing to check, and we've goofed before, is that the depth of the counterbore is set for the screw we are using. It's good here, but sometimes I have set the combination pilot bit/countersink for a longer screw, then forgot to reset it for a shorter screw. The pilot bit gets larger the deeper the pilot hole, so the correct length screw will not bite. It's not a problem if you can say "Oh well" and use a longer screw, but it becomes a problem if the screw pokes through the other side of the pieces being fastened. You could go up a screw size, say #8 to #10, but Sir Richard will notice that. Or fill the hole and redrill.
Pilot holes and counterbores. We go deep enough so that the head of the screw will be a tiny amount below the surface of the plywood, which allows a skin coat of fairing compound. On 1/4 inch (6mm) ply it is easy to get overzealous and drill the counterbore entirely through the plywood, which leaves a useless hole.
Video: https://youtu.be/A701eLXqtXs
We set up the thwart pattern jig as before and scribed the hull plank curve, more significant aft that amidships.
Using the WoodenBoat School method, they screw the pattern end pieces to the cross battens, remove the clamps and use the full pattern to mark the stock.I tried something different, I measured the widest part of the seat, unclamped the pattern ends and placed the pattern ends out to that width, then tried to get the pattern front and back edge as flush (square) as possible with the blank stock. Can you see already my introduction of error(s) for the sake of trying to avoid drilling a few screw holes into scrap teak? My idea worked great on the middle thwart, but not so much on the aft thwart. Luckily my error was in the "too big" range, so I scribed and trimmed the aft thwart down to the proper fit, which is what the pattern method is trying to get us to avoid in the first place.
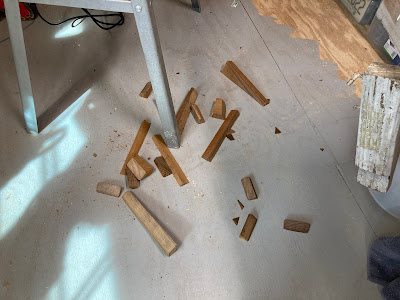
Bandsaw still life.
Ahhhh, the dry fit glamor shot. Not quite as snug a fit as the middle thwart, and certainly not on the first pass, but I'm going to say that I left a small gap in spots to allow for wood swelling and water drainage.


No comments:
Post a Comment